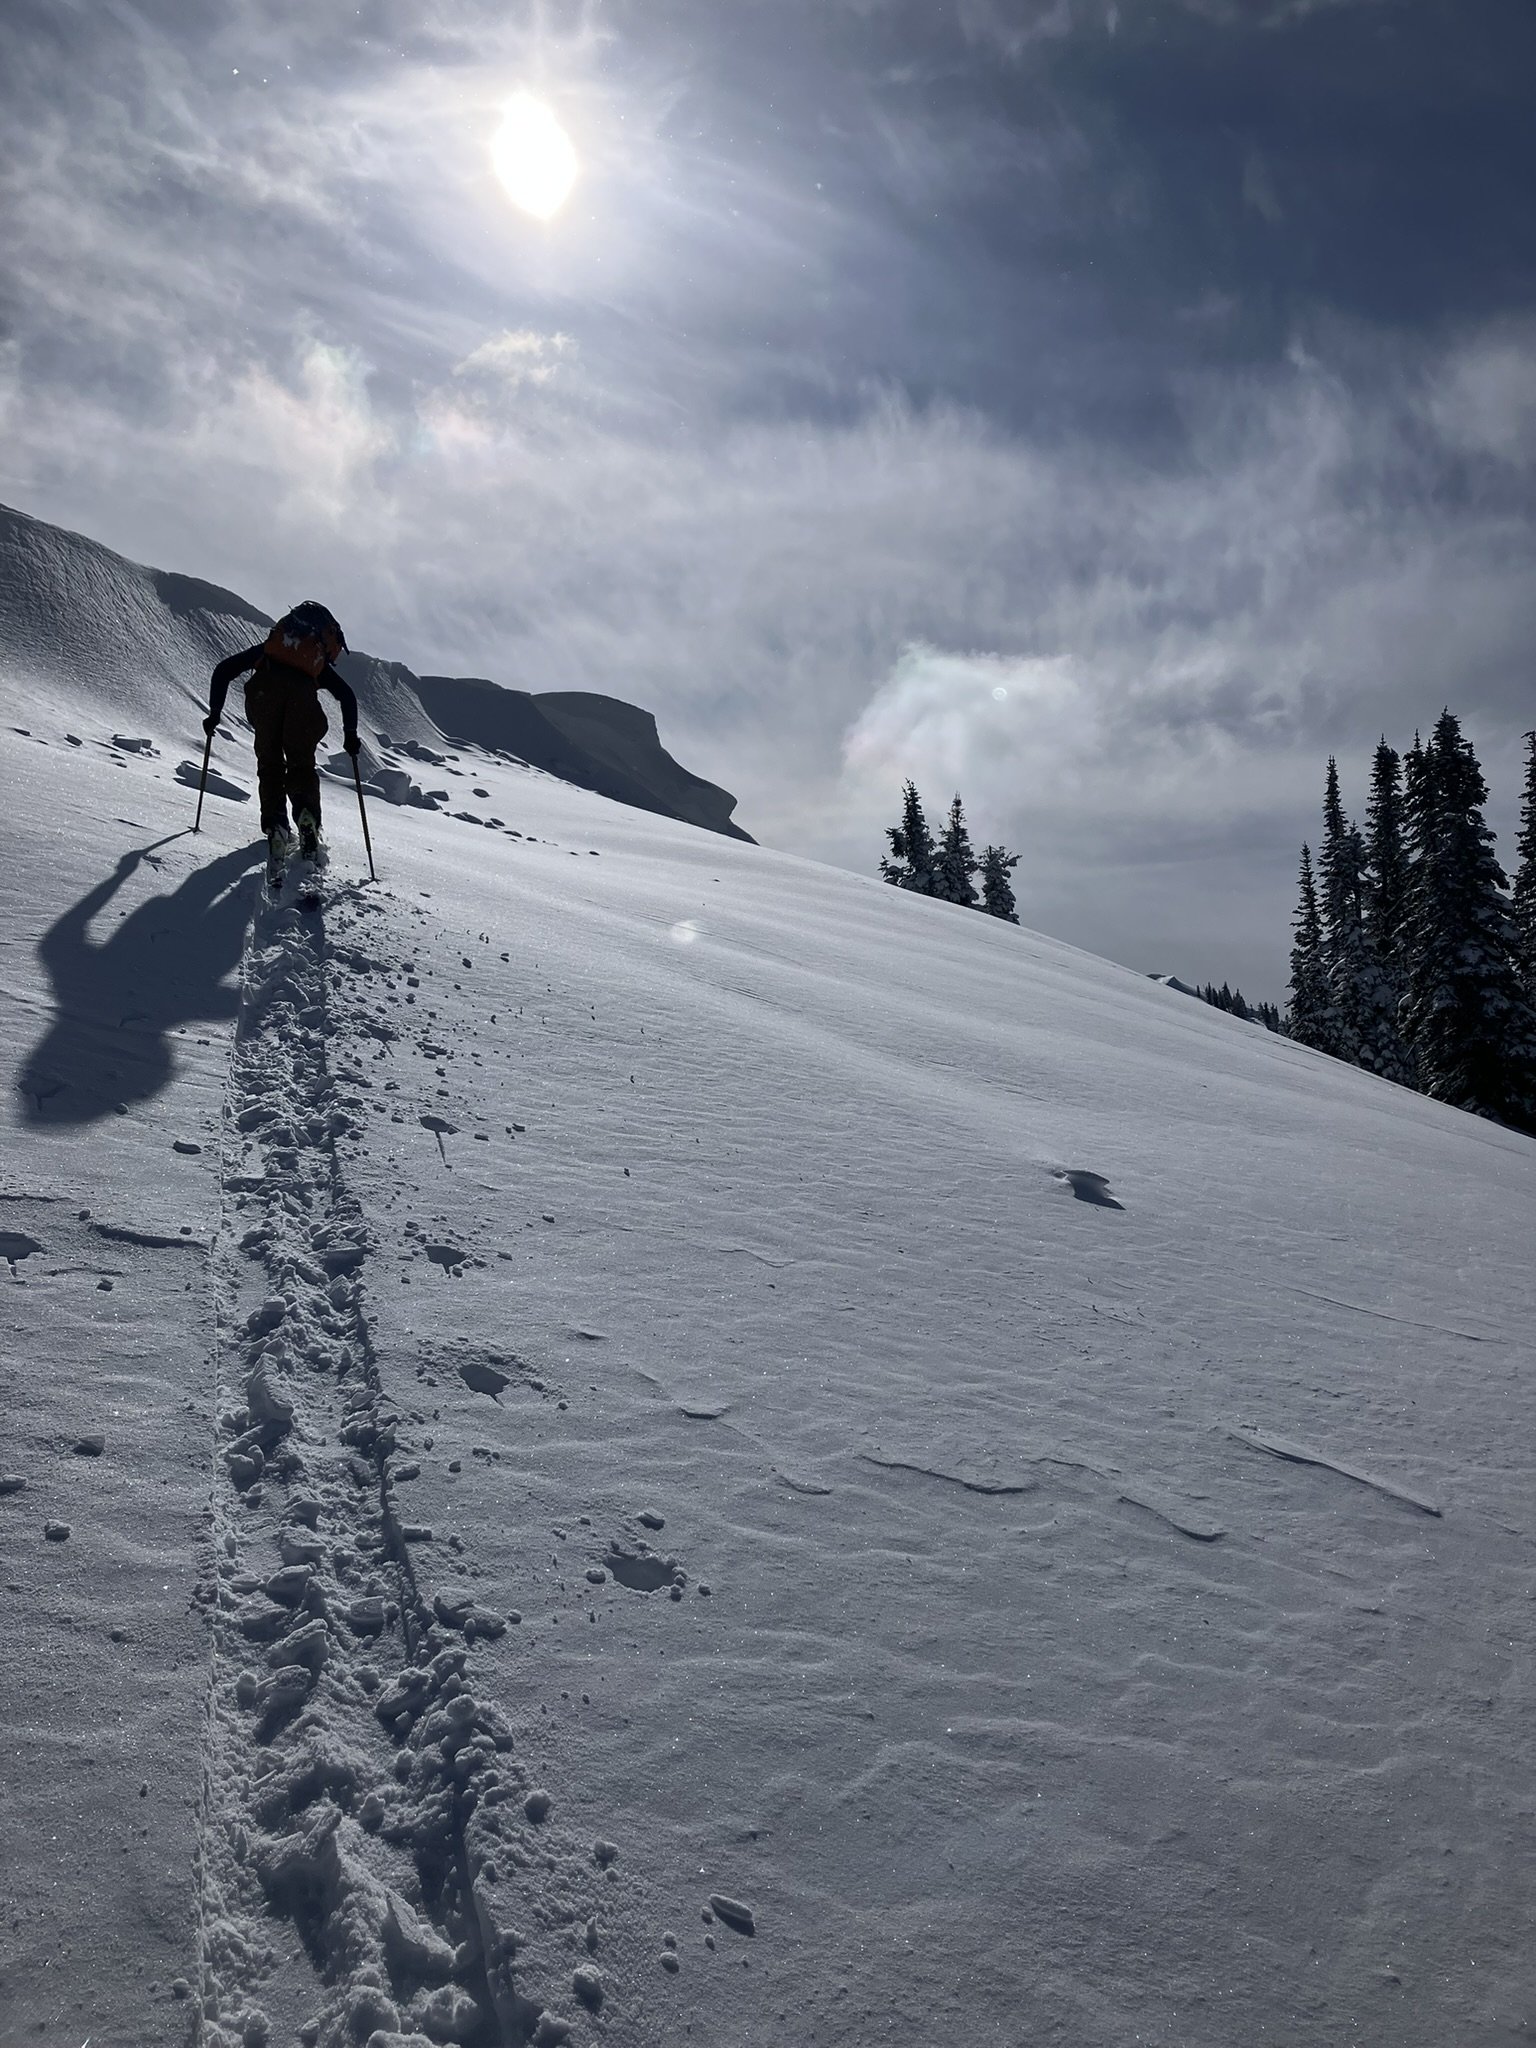
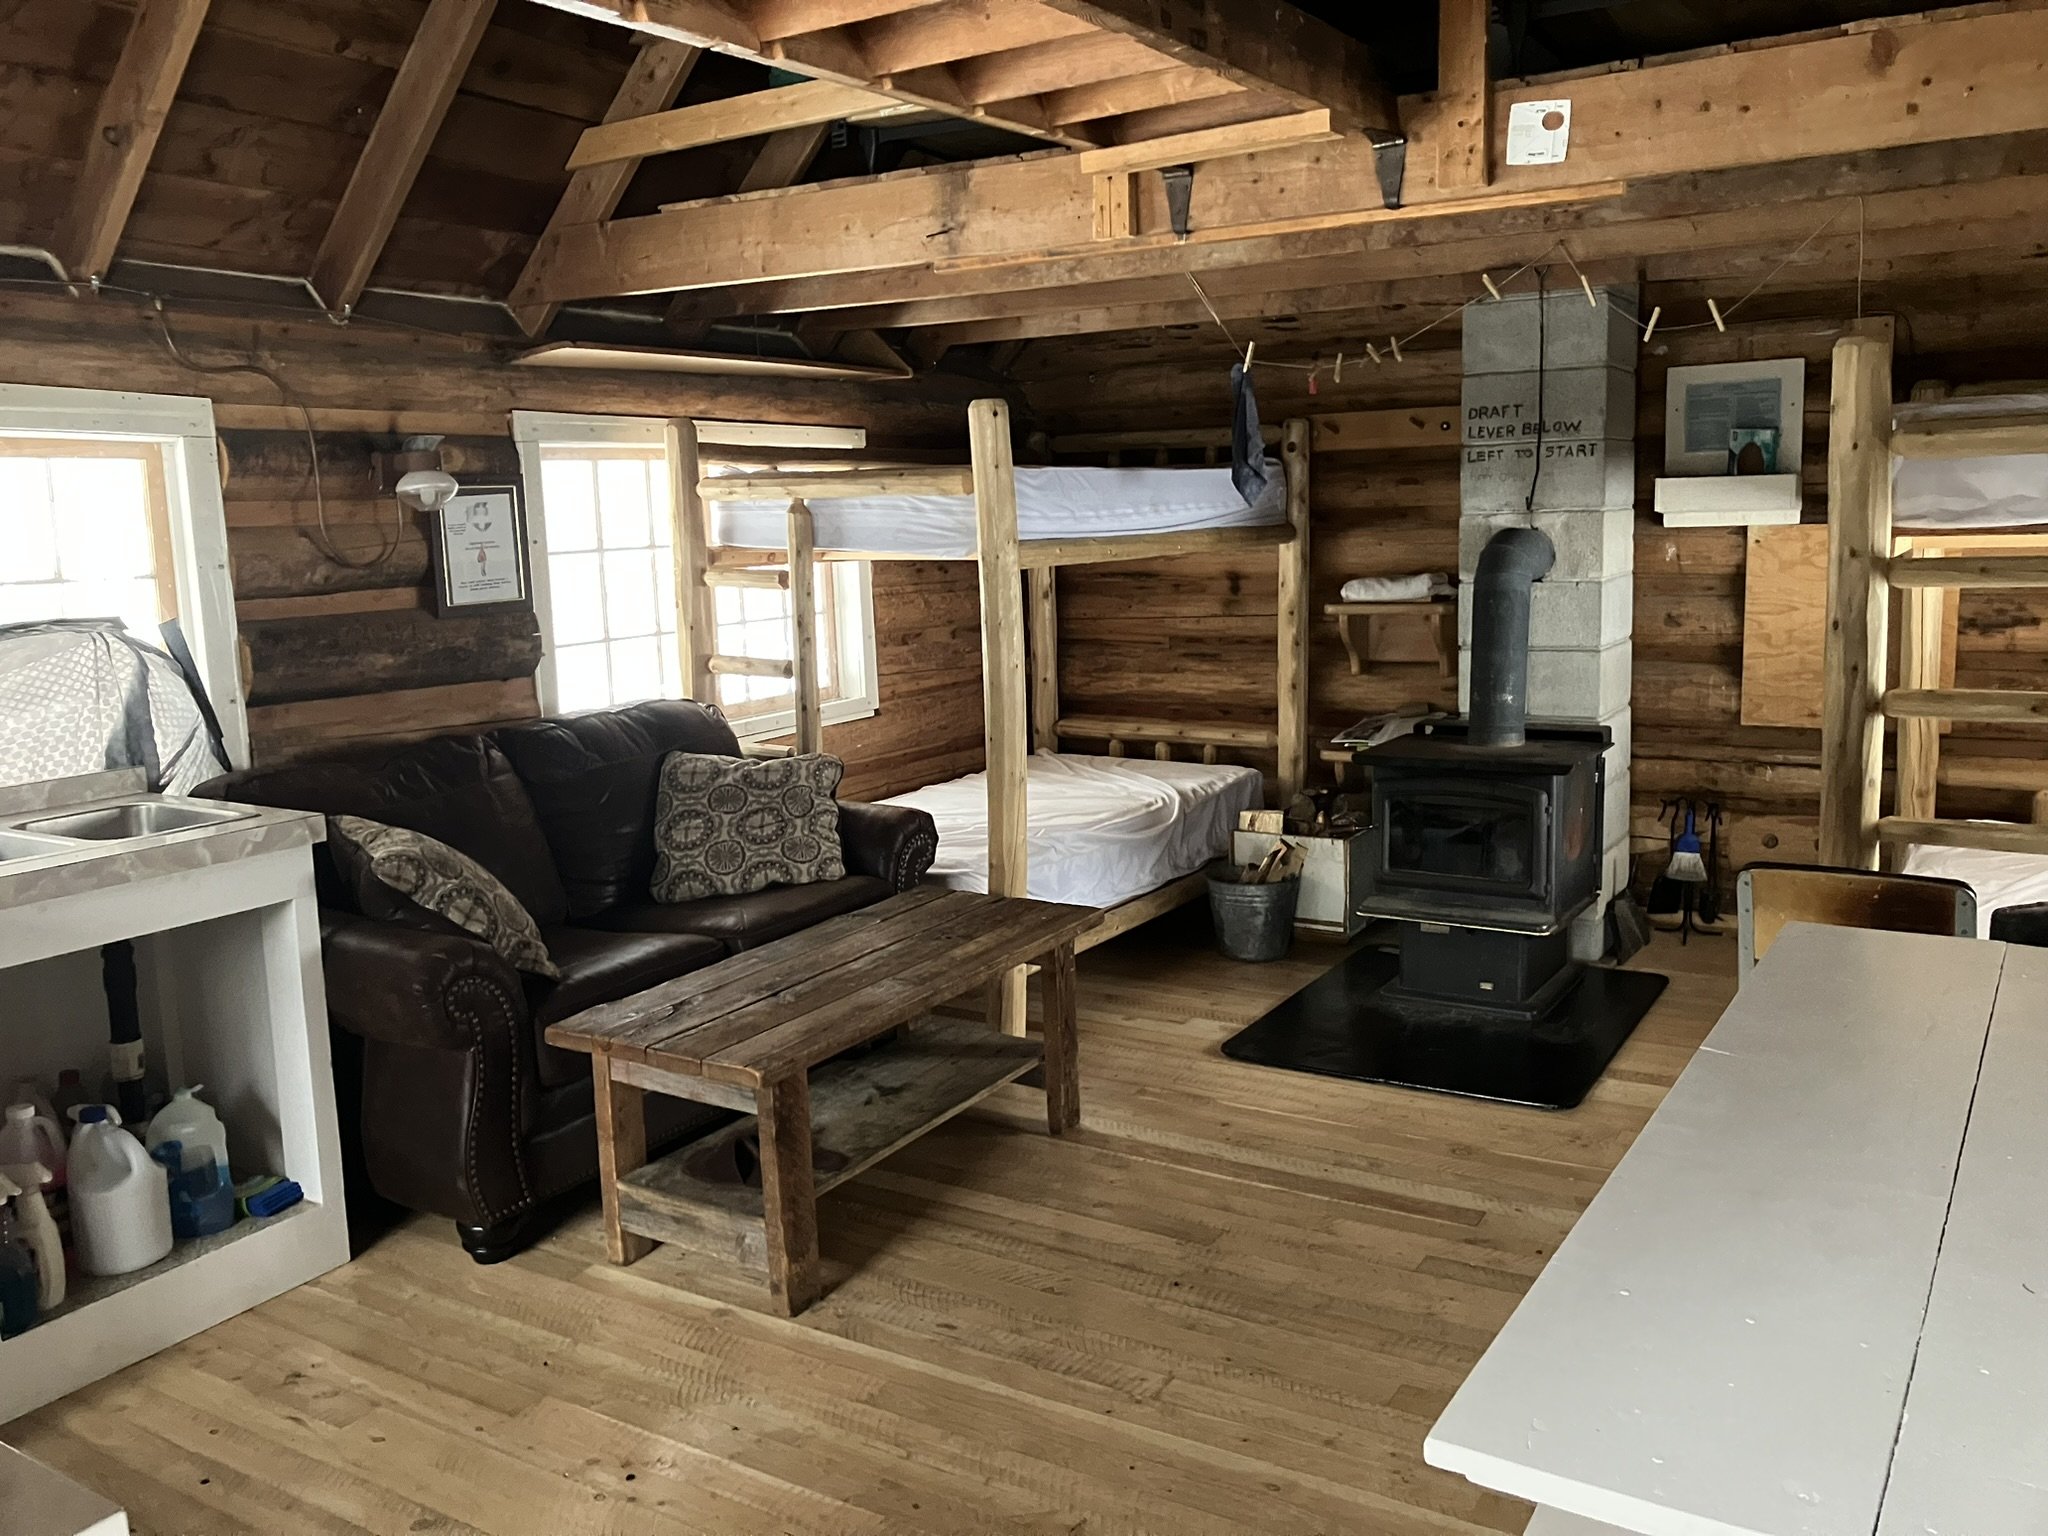
Mount Carthew - Waterton Lakes National Park

Length: 14.6 miles or 23.5 kilometers (out and back)

Trailhead: Cameron Falls Parking Lot

Difficulty: Hard, Class 2

In Alberta, Canada, Waterton Lakes National Park boasts a breathtaking landscape of rugged mountains, glacial lakes, and abundant wildlife. This international peace park was established in 1895 and borders Glacier National Park in Montana. The area is known by the Blackfoot as “Paahtómahksikimi.

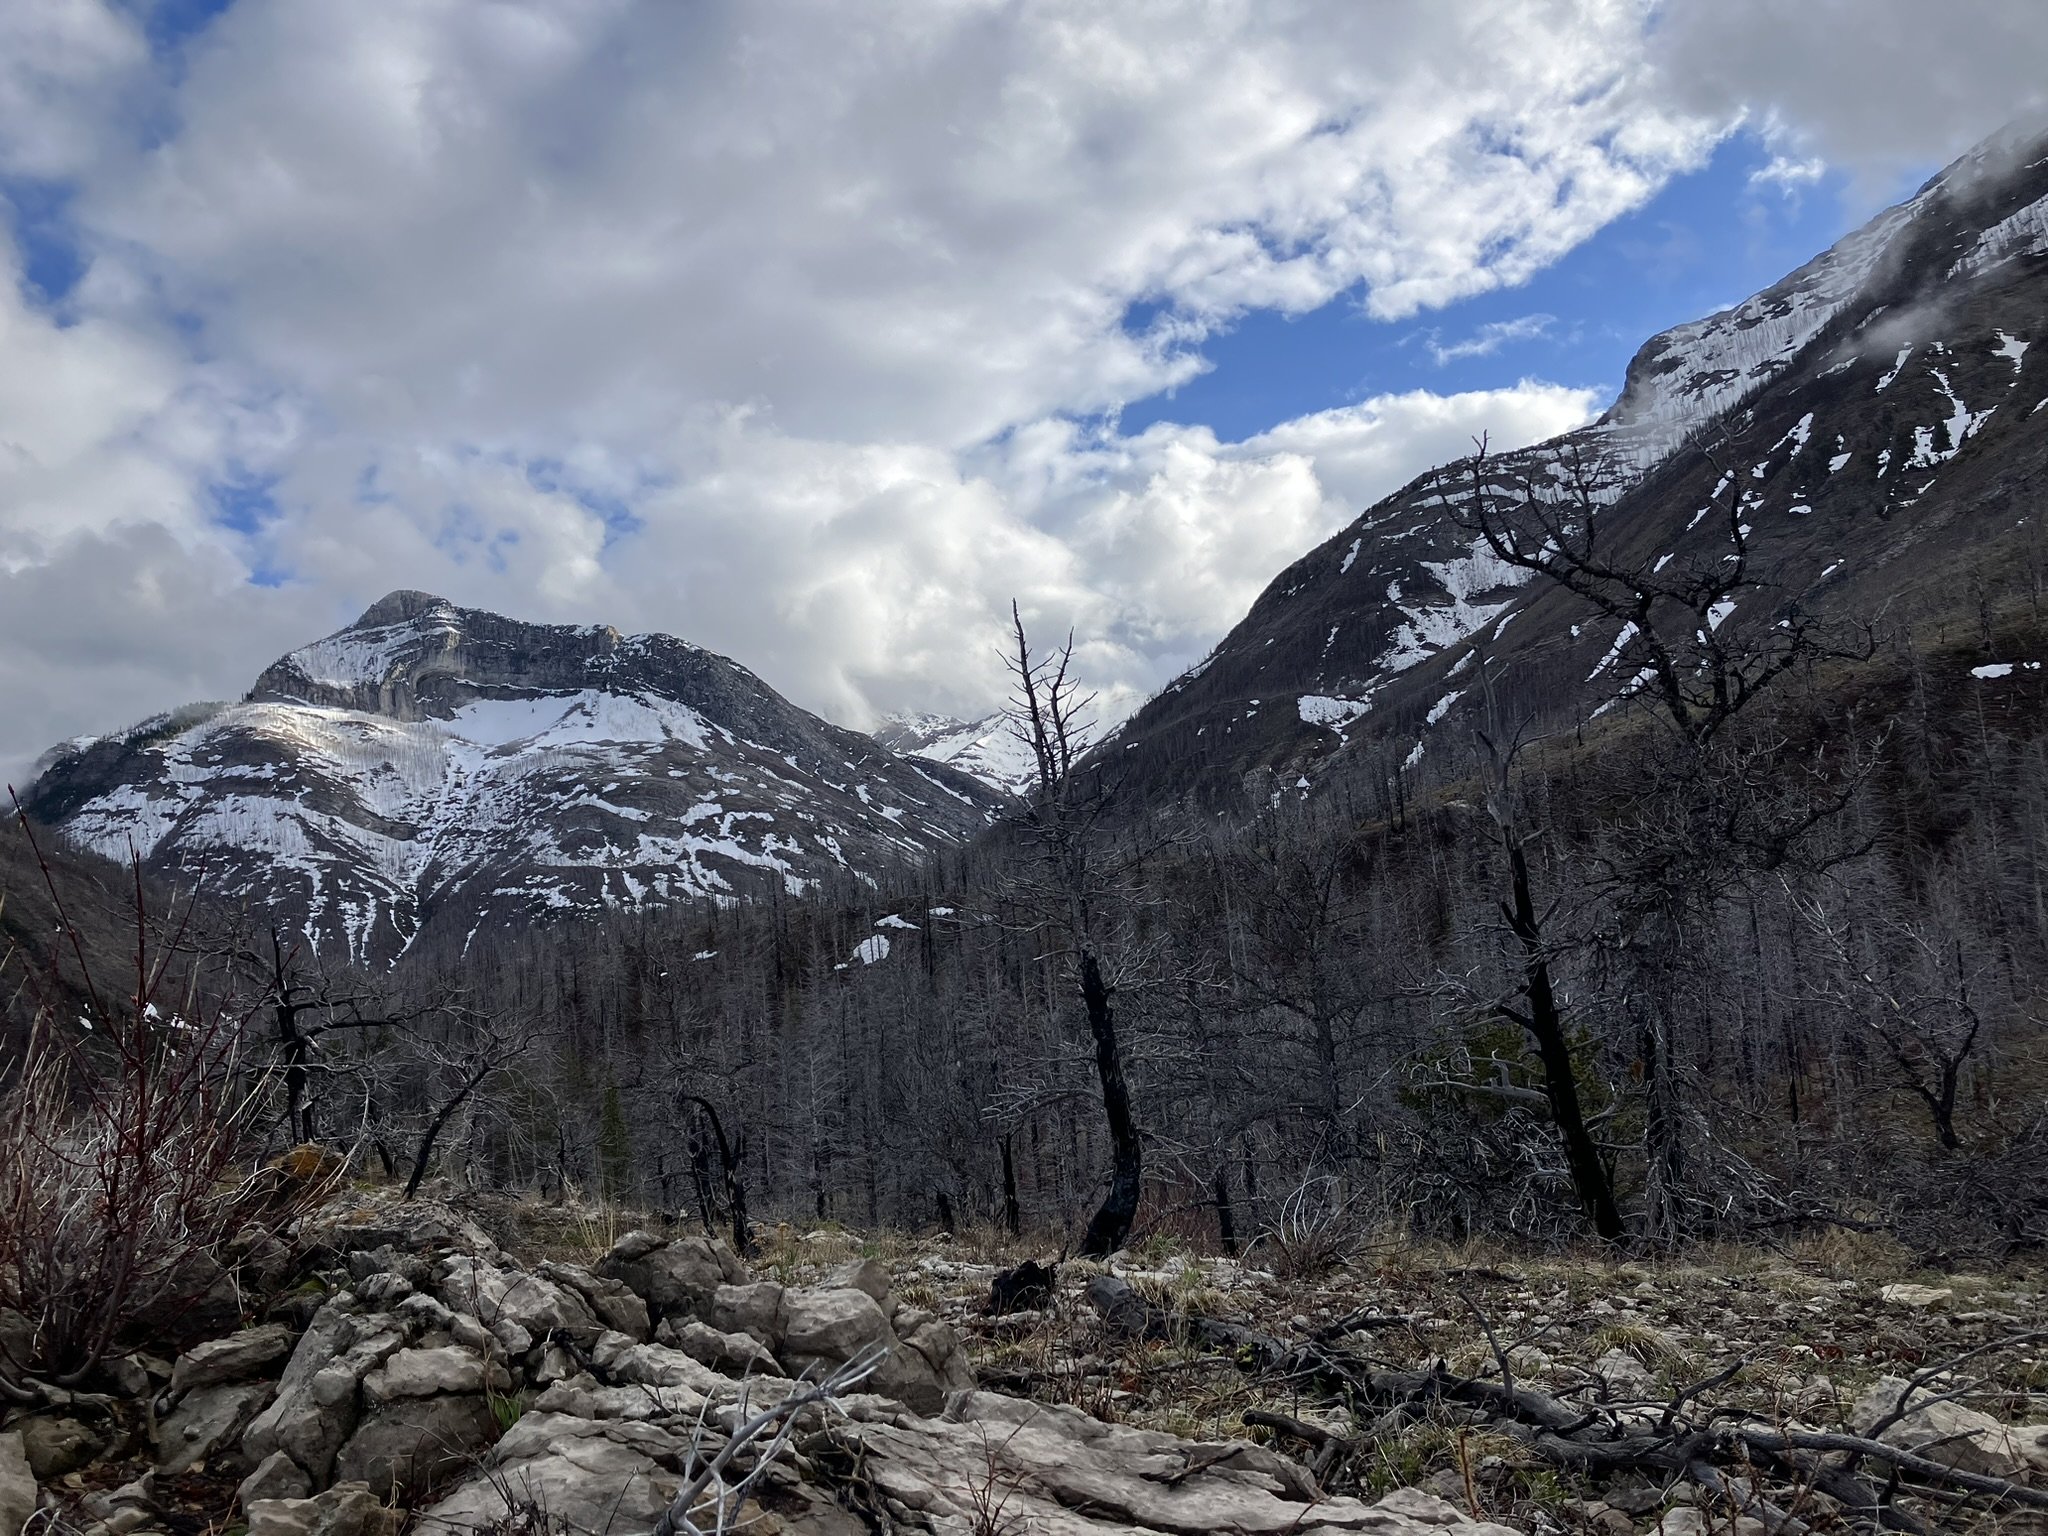
The route starts directly at Cameron Falls, but after a few minutes of walking on the trail you can find seclusion! This trail follows the Great Divide Trail (GDT) along the Carthew-Alderson Trail. While it is very common for this trail to be hiked through to Cameron Lake or in reverse (easiest), the route described here is accessible for those staying in the area that do not have a vehicle or are alone or want to save gas! Think walking from Waterton Townsite to the trailhead up to a surrounding peak, then back to town for some evening lake views!

The trail travels above and follows Carthew Creek up a treed drainage (not all burned!) which offers view that become grander as the uphill continues. The first mountain lake is Alderson Lake, which has a massive rock face along the E/S shores of the lake. There is backpacking campsites here. Continuing on the winding trail up to Carthew Lakes you experience more and more views of surrounding summits and far into the distance the rocky mountain plains. And the trail decreases in steepness!

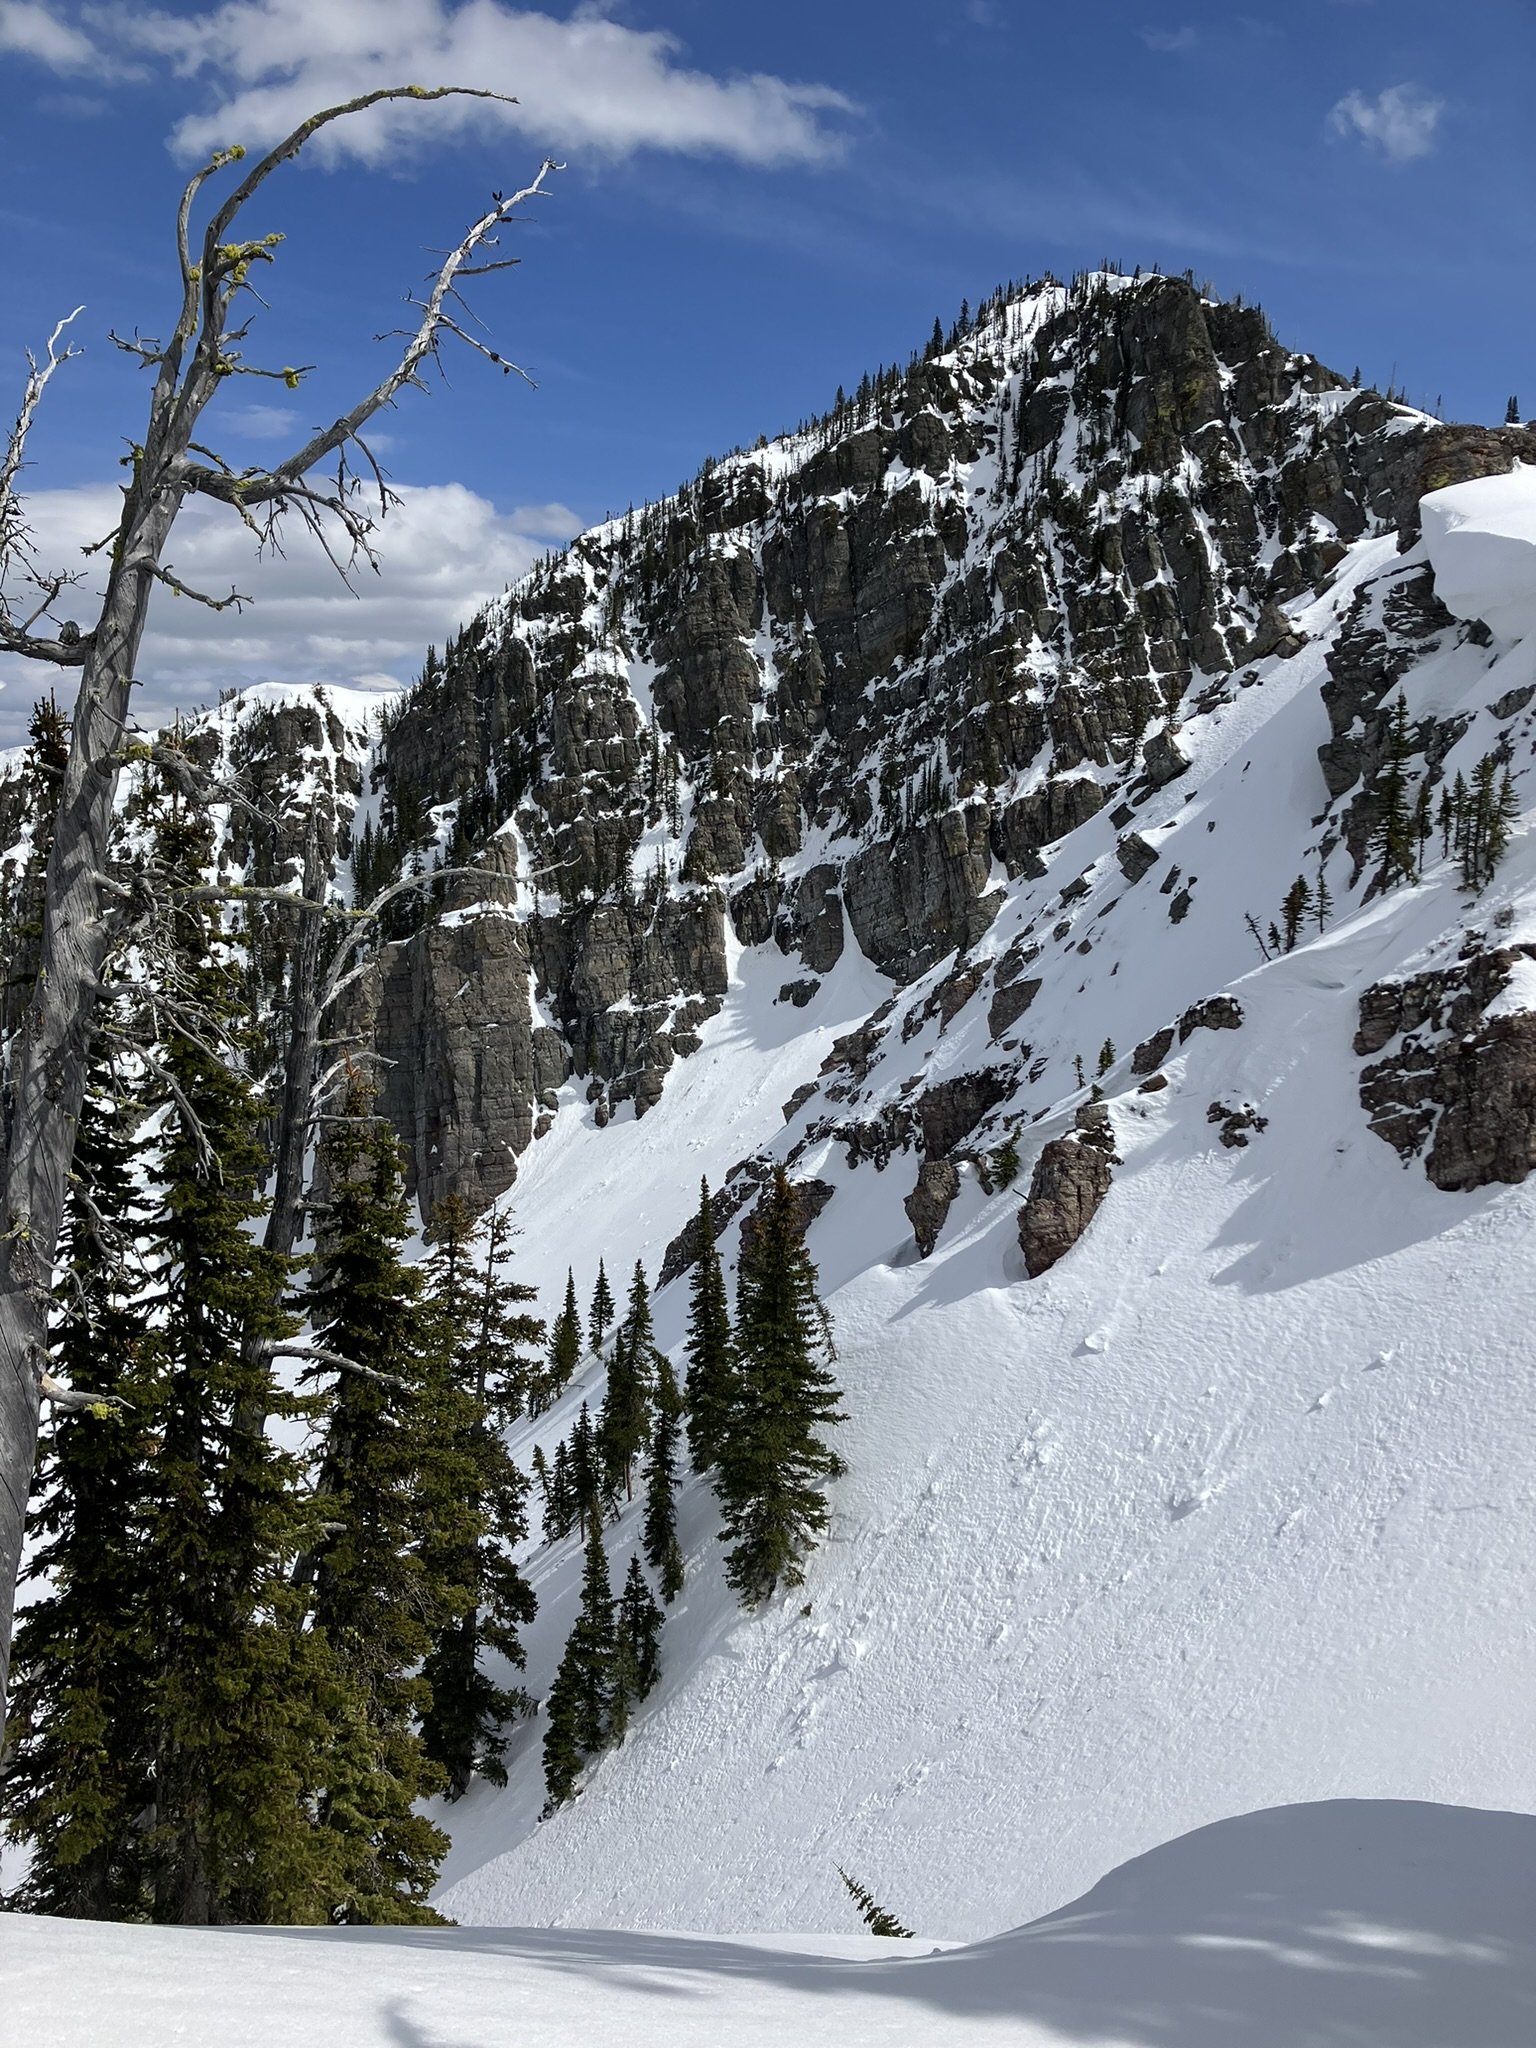
You can follow the trail to the saddle between Mount Alderson and Mount Carthew and looking for the rugged trail that climbs the ridge to the ‘knob’ between Mount Carthew and Buchanan Ridge and wraps below this knob of the SE face to the ridge that goes up to Mount Carthew (8,648’ or 2,636 km). The views from the summit offer excellent views of many peaks in the park and beyond into Glacier National Park and Akamina-Kishinena Provincial Park.

One of the highlights is seeing into the remote Lake Wurdeman and Lake Nooney drainages from the summit.

Trip Tip: Near the entrance of the park you can view the bison herd (Fenced in) from your vehicle. This amazing species is native to the land and has a sad, but hopeful history. It is an honor to get to see these great beasts out on the plains!

Exploring the Wonders of Fish Creek Campground in Glacier National Park

Nestled in the stunning landscapes of Glacier National Park, is one of the earliest campgrounds to open, Fish Creek Campground (usually in mid-May). As one of the largest campgrounds in the park, Fish Creek provides a tranquil and scenic retreat for visitors eager to explore the park’s diverse attractions. Located on the picturesque shore of Lake McDonald, this prime location offers easy access to some of the park’s most iconic features, including the Going-to-the-Sun Road and numerous hiking trails. The tips below offer some exploration options right from the campground or the closest and easiest day trips!

Activities near the campground:

  • Lake/Beach + Watercraft Access

  • Hike or Bike Inner North Fork Road

  • Hike to Rocky Point

Recommended Day Trips from the campground:

  • Drive up to Polebridge for the day

  • Hike to Trout Lake along Howe’s Ridge or Lake McDonald [22 miles RT]

Running Rabbit Traverse - Glacier National Park

Start Trailhead: Fielding/Coal Creek Trailhead in Glacier National Park

End Trailhead: Near Goat Lick Parking Lot or 48.238634, -113.518174

Distance: Approx. 10.5 miles (or less), 5500’ Gain

Difficulty: Hard

Note: This route has many options to get back to Hwy 2, all in avalanche terrain.

One of the best (long) day trips in the area is the Running Rabbit Traverse, which travels through the most southern portion of Glacier National Park. The views are incredible, expansive and change with every section of the route. This voyage should not be attempted in low snow stability due to the consequential terrain and essentially every exit is a terrain trap back to the highway. From the parking spot at the Coal Creek Trailhead follow the obvious ‘road’ through the thick trees to the railroad tracks. Cross the tracks and follow them for about .5 miles to the ridge going all the way up to ‘Sub-Shields’. Navigate through the trees to catch the ridge and from there it is consistent climbing. You will be able to see a lot of the route as you get higher up.

Once you reach sub-Shields, you will do your first downhill to the pass between Sub-Shields and Mount Shields. Wolverine evidence has been seen on this section, so keep your eyes peeled! After transitioning back to skinning up, up, up to Mount Shields. You can go all of the way to the summit or traverse around it depending on your timing and fitness level. While you can continue from Mount Shields to Snowslip Mountain via the most northern ridge, I have found the preferred route to be to enjoy a nice longer ski down the South face of Mount Sheilds and catch the Eastern ridge up to Snowslip. While it does add a little bit of elevation, the ski is enjoyable and the terrain is more manageble.

Getting on top of Snowslip is probably the hardest push of the day! While Running Rabbit Mountain looks far away (I thought!), it is an easy traverse along the ridge after navigating down and around the beautiful cliffs on the Western face of Snowslip. The best views come along this section. Once reaching Running Rabbit, there are multiple options and directions to ski back to Highway 2. It may depend on where your alternative vehicle is (if you brought 2) or it may depend on how much energy your group has left. The lowest consequence route is to ski the SE face of Running Rabbit all of the way down to the railroad tracks. If you complete the traverse in the spring, the recommended descent will take you into the trees on the West side of the creek to avoid the rushing water and drainage.

After crossing the train tracks, you will follow the railroad access road, which leads to a bridge over Bear Creek and out to a large pull-off along the highway. With luck you can often find someone willing to give you a ride back to your vehicle. There is no better way to spend a spring ski day than walking and skiing all day to feel exhausted and content on the return to the vehicle. And as you drive back home (if your home is in Flathead), you get to review your route from the highway, knowing what the views look like at the top.

Click image for link to map

Bob Marshall Access: Swift Reservoir Weekend Backpacking Trip

Crooked Mountain, Bob Marshall Wilderness Area

Trailhead: Pondera Public Park and Campground at Swift Reservoir

Distance: 5 miles one-way

Difficulty: Medium

This backpacking trip is a great weekend trip into the Bob Marshall Wilderness to escape the rush of daily life and experience the Eastern side of Montana’s Rocky Mountains. The Bob Marshall Wilderness Area was established as part of the Wilderness Act of 1964, which designated certain areas as protected wilderness, free from development and motorized vehicles. This wilderness area provides ample opportunities to enjoy solitude, see a diverse array of wildlife, and travel an expansive network of trails.

Alternate Trip Options:

  • Boat Across Swift Reservoir and start hiking from the SW side of the lake.

  • Do this as a day hike!

  • Extend this into a longer backpacking loop along Birch Creek to Phone Creek to Potshot Creek to Canyon Creek and back to Hell Roaring Spring connection with the primary trail along Swift Reservoir

Click on map for link to map

2 or 3-day Backpacking Trip Description:

Day 1: Head along the lake to the South end of Swift Reservoir, where Birch Creek (its a river let’s be real) meets the large water body. You’ll pass Hell Roaring Spring, gushing water out of the ground and if its warm, there is easy shorline access as you get closer to the S side of the reservoir. There is an existing campsite on the E side of Birch Creek, with existing fire rings, where the trail crosses over the river. If you can continue 2 miles beyond that, hiking to the next trail junction provides a more remote and secluded experience. This is approximately 5.3 miles one way from the trail head and gains 1,180’ (but loses about 800’), so is a great trail for beginners who can manage some up and down hill both directions.

Day 2: Explore deeper into the Bob Marshall with a day hike or head back the same way you came for a simple, one-night camp-out! Recommended Day hikes for the most open views would be to head up the South Fork of Birch Creek. The Middle Fork of Birch Creek is still worth a short hike to see the steep, rocky drainage between Crooked Mountain and Mount Sentinel.

Spring Going to the Sun Road Bike + Hike [Glacier National Park]

Start/Finish: Lake McDonald Lodge

Total Distance: Bike 11 miles, Hike 4.6 miles

Elevation Gain: 917’ gain

Difficulty: Medium

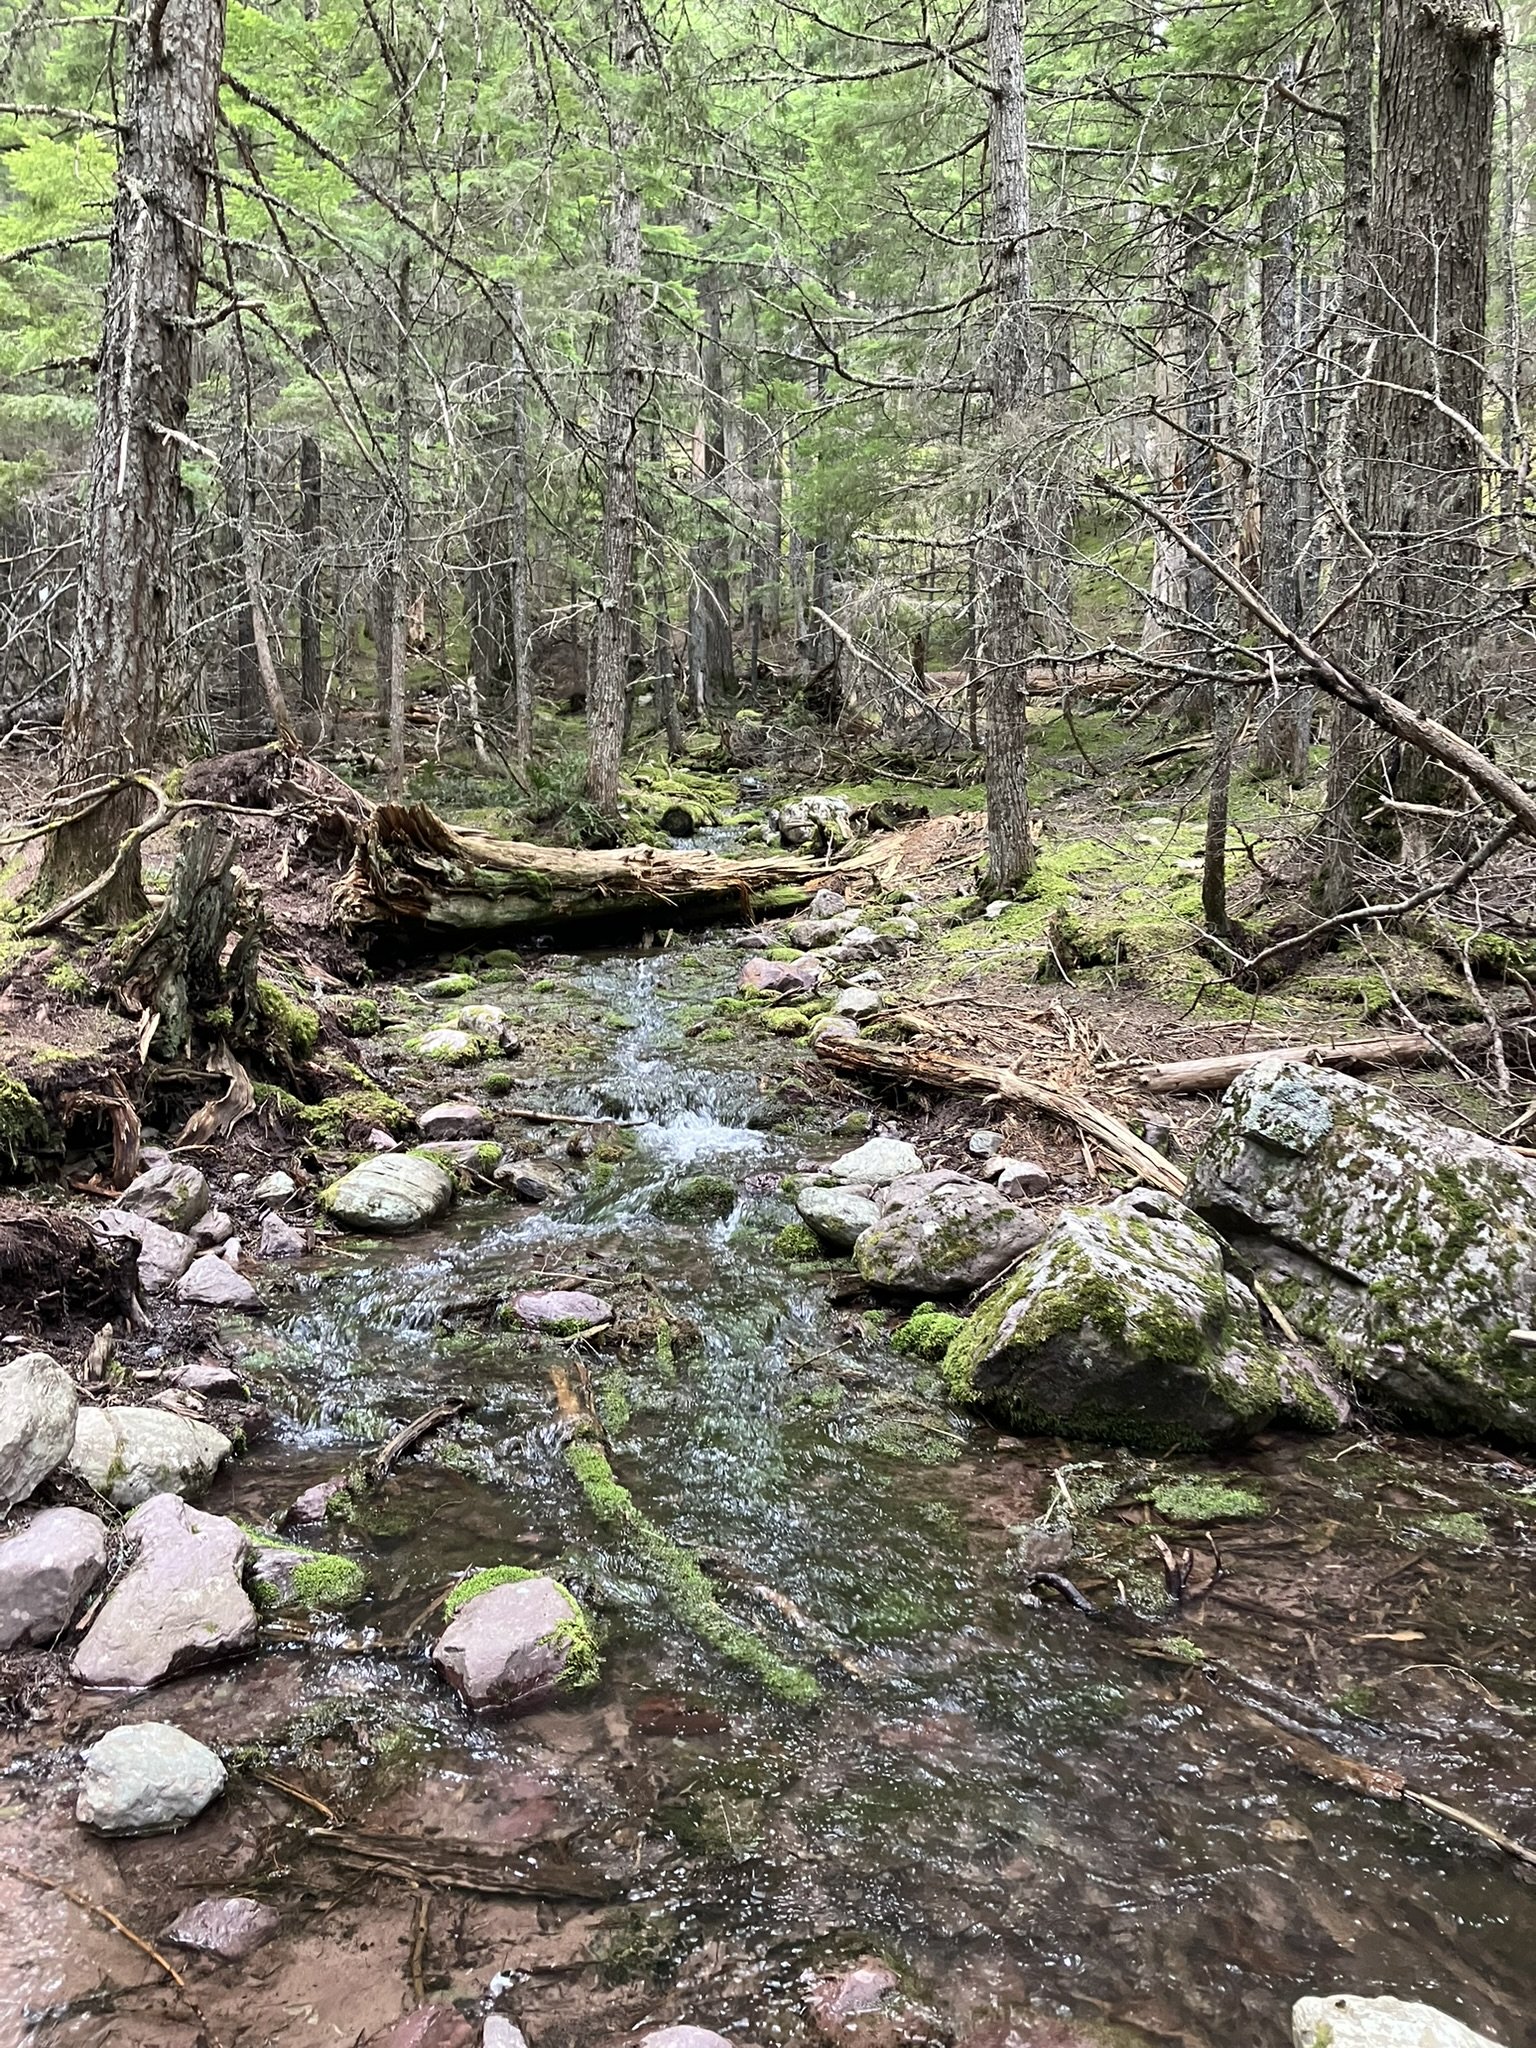
When spring Montana provides cool (or even rainy/snowy) days, this route allows you to enjoy the best Glacier National Park has to offer, usually with significant solitude. After the bottom of Going to the Sun Road melts out around April, you can bike along the paved road even though its closed to vehicles. Spring 2024 there was still some gravel due to road construction. While biking all of the way to the seasonal closure is highly recommended, sometimes the weather doesn’t allow for it when its cooler in the alpine. A great alternative to biking all day is to bike + hike to Avalanche Lake, which includes the Trail of Cedars.

Park your car and start at Lake McDonald Lodge and bike through the gate along the Going to the Sun Road. Along the way there are various stopping points along McDonald Creek. Bike 5.6 miles until you reach the Avalanche Lake Campground, which will be your transition point to hiking.

The hike up to Avalanche Lake does have slight elevation gain, but offers a variety of wonders like Avalanche Gorge, dark woods, and open vistas of steep rocky peaks. The finale is seeing the bowl that Avalanche Lake is in. On a cooler day making some hot drinks allows one to enjoy the scenery a bit longer before getting to chilled and needing to start the hike + bike back to your vehicle.

Side Trip: You can bike a short .25 miles off Going to the Sun Road to the bridge that crosses McDonald Creek

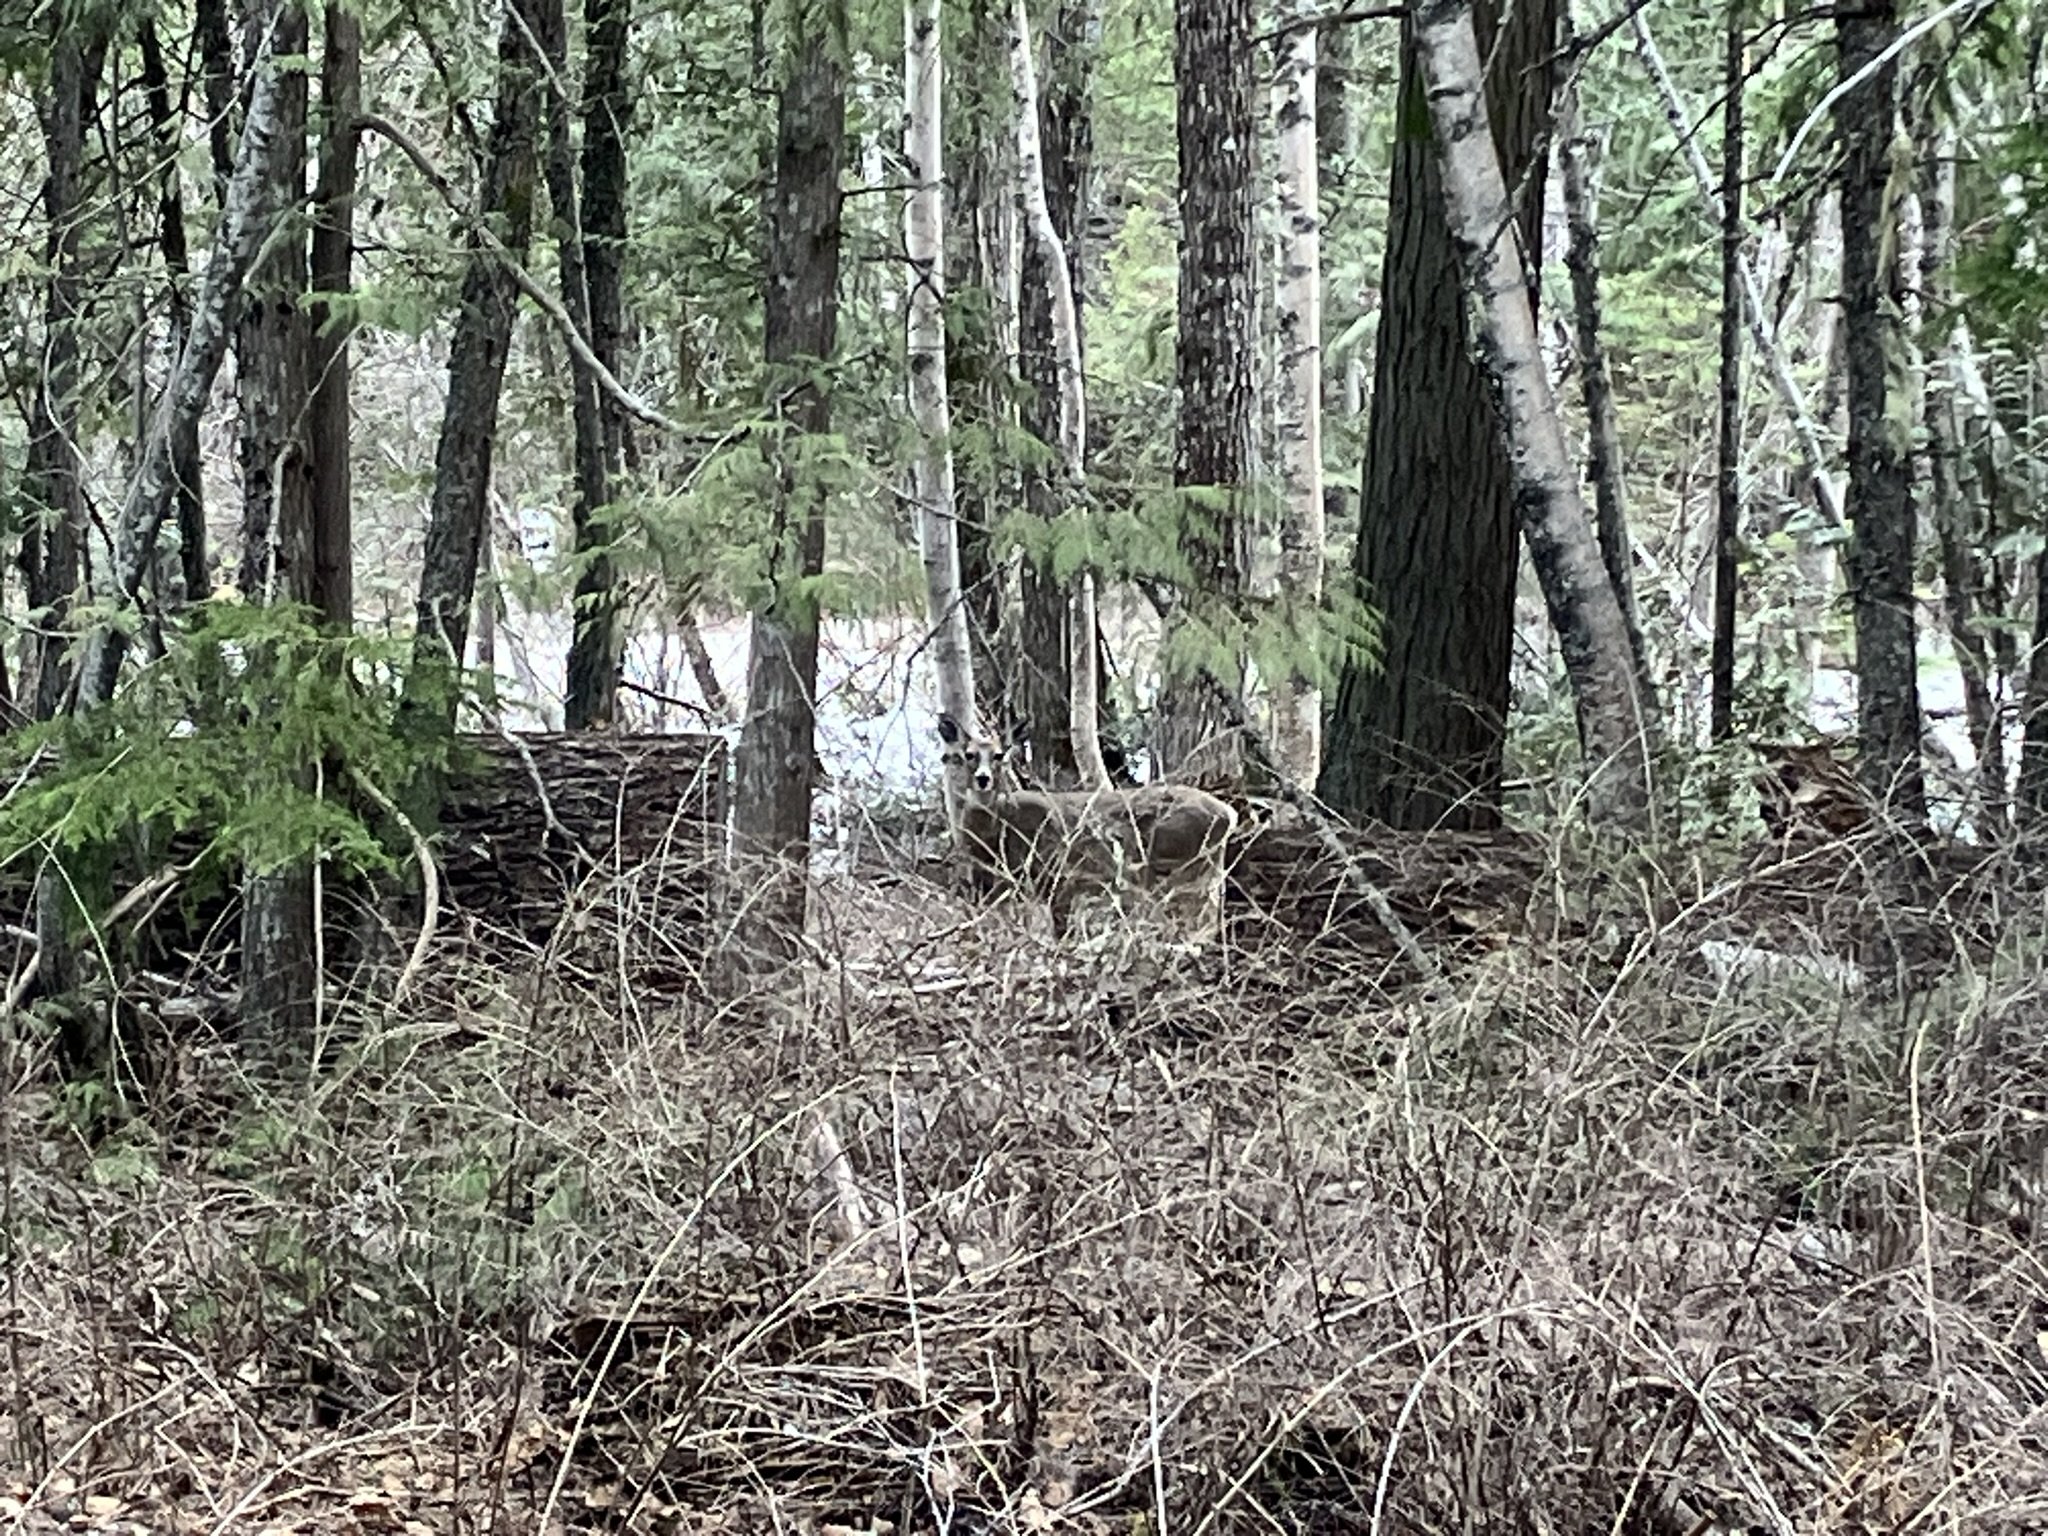
Can you spot the deer?

Rescue Creek to Cascadilla Creek - Ski Loop

Trailhead: Skiumah Trailhead

Vertical Gain/Distance: 6.8 miles, +3450’

Difficulty: Hard

A favorite ski loop near Kalispell in the Great Bear Wilderness off of Hwy 2 offers excellent panoramic views of Glacier National Park and the chance to experience two very accessible drainages in the area. Starting with Rescue Creek and ending in Cascadilla Creek provides the easiest and clearest climbing route, but either direction will work. This route does include avalanche terrain, so a knowledge of current snow stability is required.

Head into Rescue Creek by following the powerline road until you cross Rescue Creek (bridge). Shortly after crossing you will see a sign for the summer trail heading up the drainage into the Wilderness Area. Follow this trail, there most likely will be a skin track, the entire way until you reach the opening terrain junction. You will head Southeast up the avalanche path and continue into the next drainage, which is Wahoo Creek. From the multiple times I’ve completed this I recommend ski crampons or boot crampons if attempting the traverse in the spring, as this slope can often be frozen and slick. Traveling across Wahoo Creek is easy and obvious. you will head towards the ridge that is on the L side of Cascadialla creek. Ski down into Cascadialla Creek with the fall line of your choice.

When exiting Cascadilla to head back to the highway, there is the summer trail (resembles an abandoned road) exiting the drainage on the east side. Follow this trail until you get connected to the powerline road. From there you can ski this road to its end at Highway 2 or ski through the trees to end up back at your car.

Skiing Mount Penrose, Montana

Trailhead: Skiumah Trailhead

Distance: 9.2 miles, 4,600’ gain

Difficulty: Hard

One of the most popular and easiest access points for backcountry skiing out of Flathead Valley is along Highway 2. The Rescue Creek drainage offers a plethora of skiing opportunities. The majority of the terrain is considered complex, so an appropriate understanding of the avalanche hazard is recommended before committing to this zone. Summiting Mount Penrose offers beautiful views of the bowls of Nyack Mountain, the smooth W face of Great Northern, and the horizon of GNP.

To start the trip park on the N side of Highway 2 at the Skiumah Creek Trailhead. The summer road is marked with a forest service sign. Start your journey SE along the power lines for about mile until you cross Rescue Creek. Just past the creek crossing (via a bridge) you will head SW along the summer trail into the Great Bear Wilderness Area.While this skin does consist of some side hilling, there is usually a skin track that stays above the creek and continues up the drainage. After a short mile through the forest, the views open. You may notice the downed trees, stacked logs, rocky creek area and obvious demolition from a massive avalanche cycle. In the summer the evidence becomes especially obvious.

The recommend skin route is fairly obvious. In simple terms, follow up the middle of the drainage in the lowest consequence path in the most manageable pitch for travel. You’ll start to see the saddle between Nyack and Penrose and that’s where you head! After you gain the saddle, the route along the ridge offers excellent views, or heading into the trees may provide slightly more sheltered and lower angle - terrain. As you increase in elevation, the slope angle begins to reduce as the trees start to thin out allowing the last push to provide excellent views. It is a consistent, long and fun ski back to the car if you go the same way you came up! Some alternative skiing options will be come visible as you view the drainage off the E face of Penrose, the N face of Nyack.

Other routes in this area include: Rescue to Cascadilla Traverse, Marion Lake, Great Northern, Running Rabbit Traverse, Cascadilla Drainage

McDermott Creek Cabin - BC

Great spring weather and powdery skiing conditions left us never wanting to leave this escape in the Southern Lizard Range of beautiful British Columbia.

Accessing the cabin:

We accessed the cabin by snowmobiling in from the Sand Creek Rd. along Sand Creek and then along McDermid Creek. There were a few creek crossings required when we visited the cabin in March, but the groomer does attempt to keep these as easy as possible to cross all season long. It kept things interesting!

Renting the cabin:

You can rent the cabin at Grizzly Basin Website found here https://cabinrentals.grizzlybasin.com/mcdermott-creek-cabin/.

Skiing around the hut:

1: Skinning to the N of the cabin, area 1 offers the most mellow terrain options available. The easiest way to skin up this slope is heading to the NE along the lower angle slopes until you reach the ridge to the N and can follow that up to the upper ridge. This area is mostly treed glades that offered us fresh powder all weekend!

2: The slopes that are basically S and visible from the cabin are best accessed via the saddle then skinning up the ridge until where you want to drop down. There are some fun rock features on this slope for skiing, but it does make it higher consequence terrain.

3: For the longest, consistent runs near the cabin, the glades and slide paths offer a great option depending on the snow stability. To access, you can catch the saddle to the south of the cabin and follow the ridge up to where you want to ski.

4: Beautiful and highly consequential terrain exists in this zone as many named couloirs, such as Pinner Couloir, Bonus Couloir, and Hidden Couloir so it is only recommended if the snow is stable and you have previous experience in this type of terrain.

Ninko Cabin - a Northwest MT winter escape!

Trailhead: Whale Creek Road and North Fork Road

Access: ~12 miles via unplowed road


[Reservation Required]

Whether you are looking for a winter backcountry escape to get some nordic or backcountry skiing in or just to enjoy the simplicity and silence of the remote parts of the Whitefish range, the Ninko Cabin is a great place to spend your time. The access to the cabin and most popular ski zones are highlighted below.

Access:

Snowmobiling is the easiest and quickest way to access the cabin, but many people will nordic ski pulling sleds in as well. It is all via road making it easy to navigate and efficient for traveling. Follow the North Fork Road about 45 miles north of Columbia falls to Whale Creek Road #318. Turn West on the road and you can park at the end of the plowing area and ride/ski in from there. Depending on the plowing and your trailer situation, it is about 7-9 miles to gated road #10832, which does have a sign (Ninko Cabin!) just before it. Follow this road for a little over 2 miles to the cabin.

Skiing Recommendations:

Touring in this area is similar to elsewhere in Northwest MT, the low elevation woods are THICK! I highly recommend sticking to any summer trail in the area to tour up to higher elevations ( where the snow increases and bush-whacking decreases. Here are a few great options on touring and you can select your lines you want to ski based on your abilities, the snowpack stability, and your group.

1) Mount Thompson-Seton

Following the summer trail head North of Ninko Cabin along Ninko Creek past Masonry Creek. Cross the creek at about 5600’ elevation and head east and after climing slightly in elevation you will get great views of the surrounding area. Continue skinning until you are ready to ascend Mount Thompson-Seton. Depending on snowpack there are multiple skiing options off of Mount Thompson-Seton of varying complexity. Ski down and connect back with your skin trail and on the exit it is advised to stay out of the creek bed, especially near the cabin as it gets very steep on both sides. With a short skin/hike back up to the summer trail after crossing the creek, you can ski back down to the cabin.

2) Slopes North of Cabin

Following the same summer trail as described above, you can go East at about 5600’ and stay in the trees to catch the ridge that is directly north of the cabin. You can follow the ridge as long or as short as you like and ski down the south facing slopes back to the road to the cabin. With this slope being south facing it can get solar radiation that increases avalanche danger but also keeps snow levels lower on this slope.

3) Inuya Creek + Whale Creek Drainages

If you have a sled you can expand your terrain choices around the cabin. Heading back to Whale Creek Road from the cabin and continuing on that road to the west will take you to a summer trail head that follows Whale Creek. Following this summer trail for a short bit will take you to the intersection of Whale Creek Trail and Inuya Creek Trail and following Inuya Creek Trail provides ample skiing opportunities for different levels. You can see on the map where you can catch the ridge at about 5500’ to skin up to an unnamed peak at 7020’. Alternatively, sticking to the Inuya Creek Trail you can head into the basin to the E of the trail for some more committing lines.

4) Hornet Lookout

Lower complexity terrain exists near the top of Hornet Lookout, if you have a snowmobile for access. Sled about 8 miles back to the Hornet Lookout Road and continue to the Lookout. Depending on snow and wind conditions for the season, you should be able to ride most of the way along the road. Some mellow (Still avalanche terrain) lines can be skied off of the peak of Hornet Mountain on the East faces or along the ridge to the SE back to the road where your sled is. If it is clear beautiful views of Glacier Park can be seen to the East.
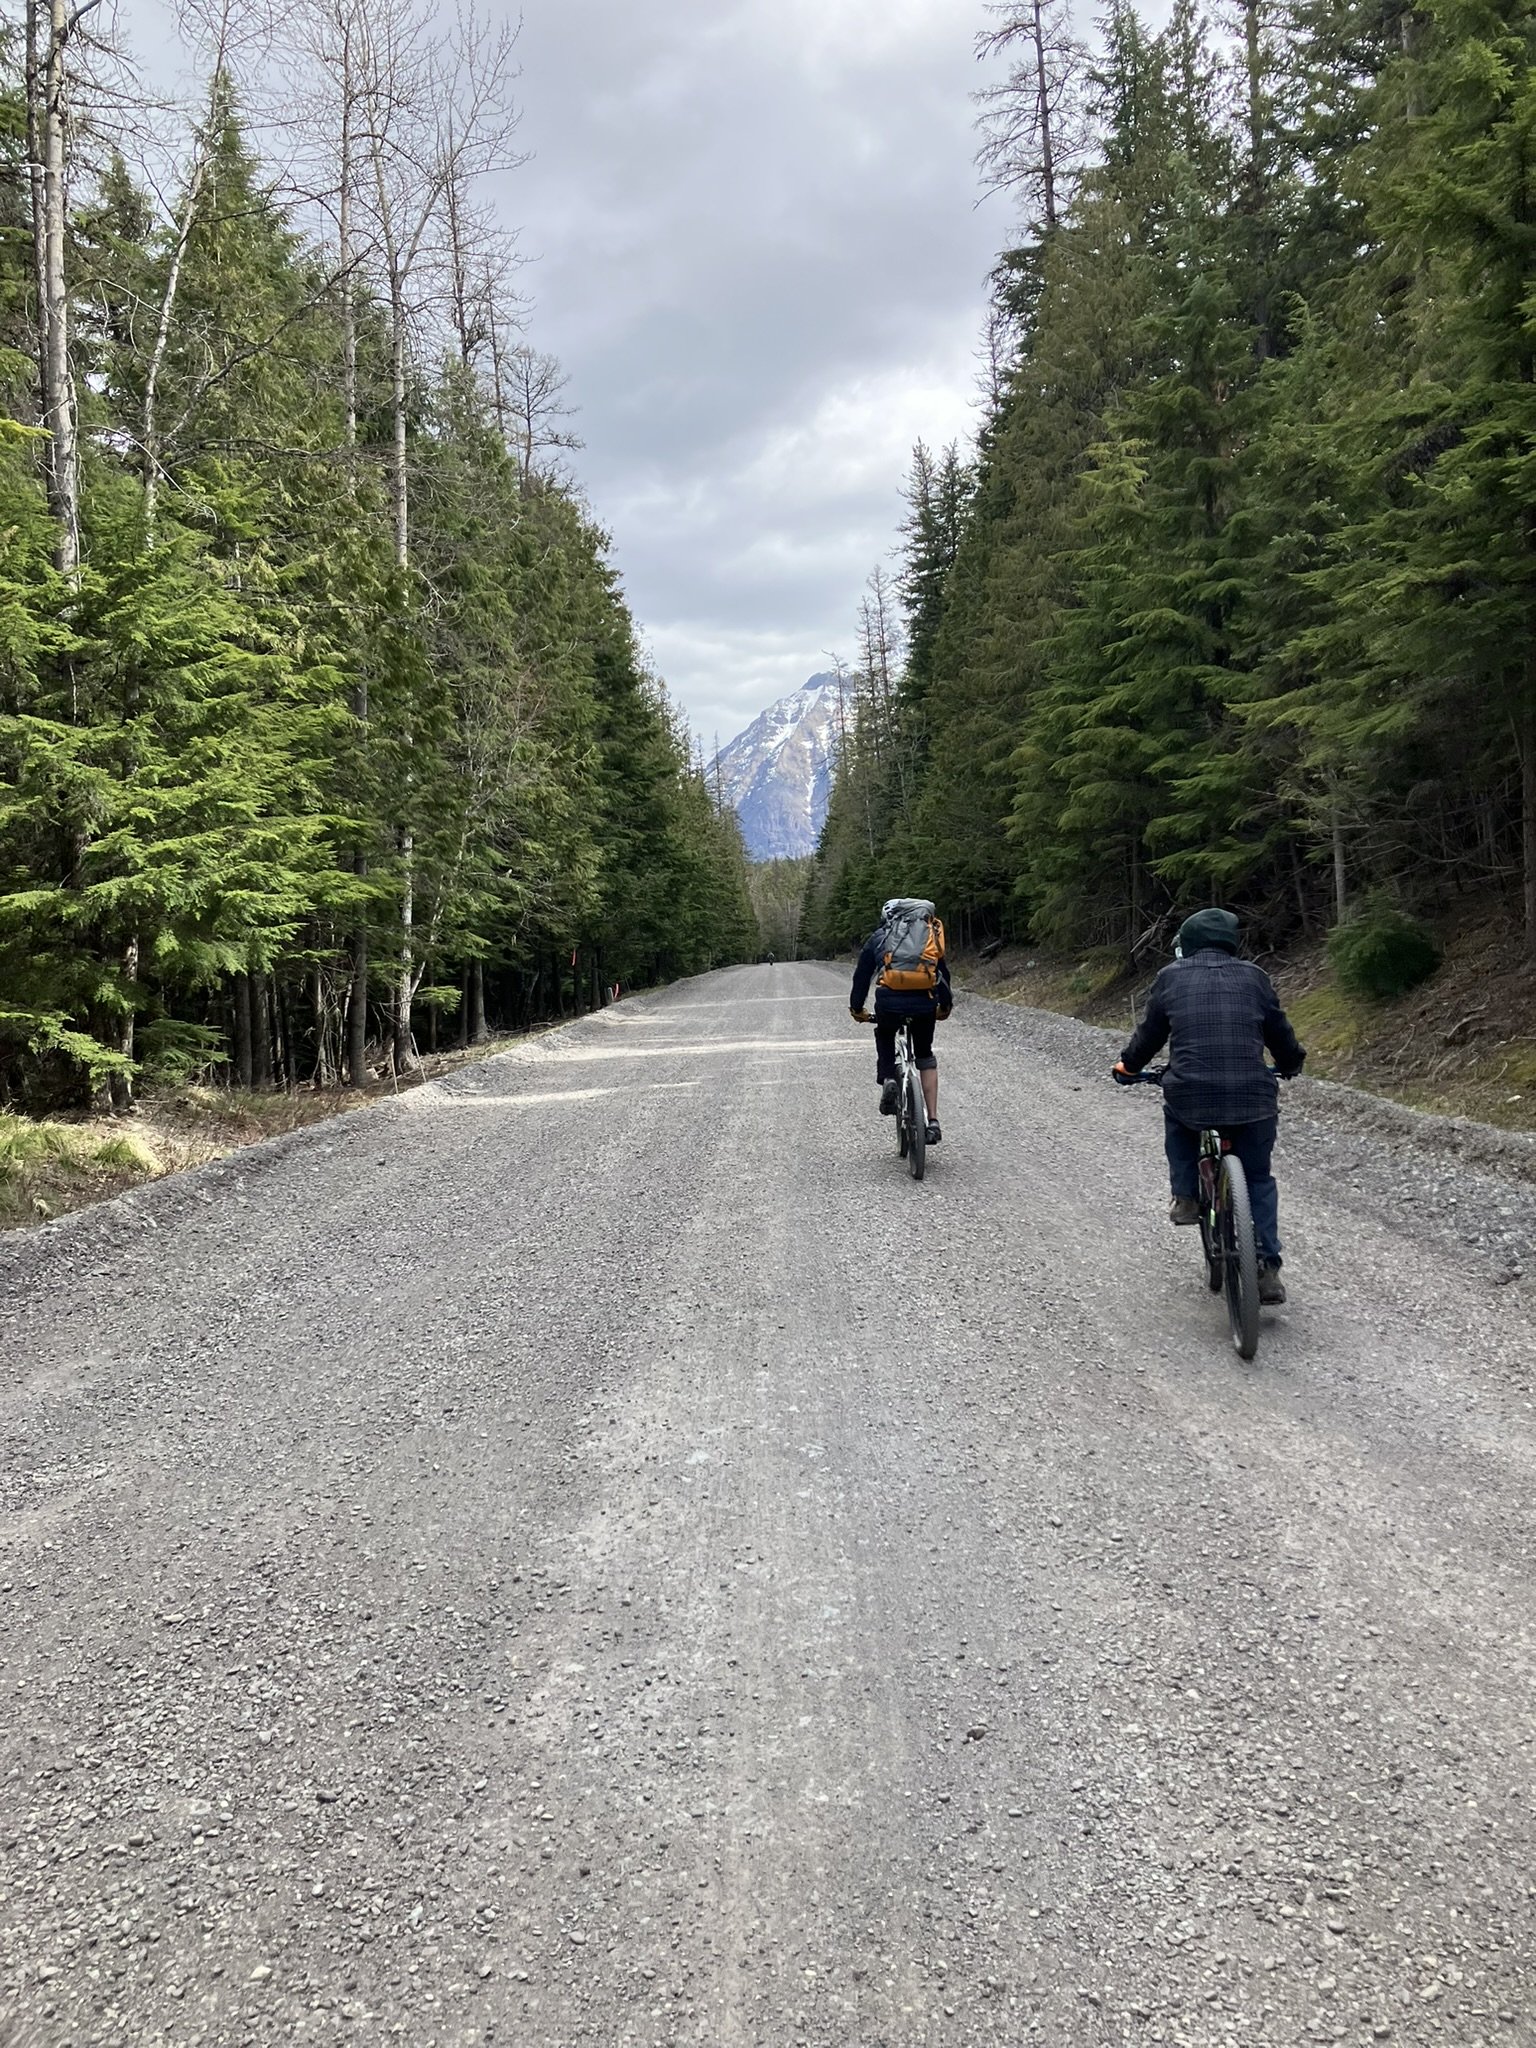
Desert Mountain, MT - Epic + Vast Mountain Views!

​Trailhead: 1 mile E. of Martin City, MT

Desert Mountain can provide for a full day or half day of riding! This location is highly recommended on a clear day as it provides some of the best views close to Kalispell of the surrounding big mountains in Great Bear Wilderness and Glacier National Park. '

There are two primary trails - the first and most recommended goes up to Desert Mountain and is an easy, groomed ride with a few steeper trail sections on the road and on the side of the roads. If you can make it to Belton Point, the views are spectacular. You can even see Lake McDonald in GNP. The Desert Mountain Ride provides a small amount of fun riding terrain when there is good snow.

A second trail loops through the wilderness terrains and clear cut areas providing beautiful views into the wilderness area.