Trailhead: Hungry Horse Dam
Difficulty: Easy snowmobile and Easy - Expert Skiing Options
A full day of snowmobiling and skiing await in the Doris Lakes Basin and it is about as close to the Flathead Valley as you can get. Start on the West side of Hungry Horse Dam. There is a very large parking lot and the road is gated just after it offering easy access to tons of terrain. The trail from the car is known to consistently be full of whoops, so be prepared to get bouncy! This route gets you off of the main trail onto smoother riding roads after only two miles, making it a great place to check out!
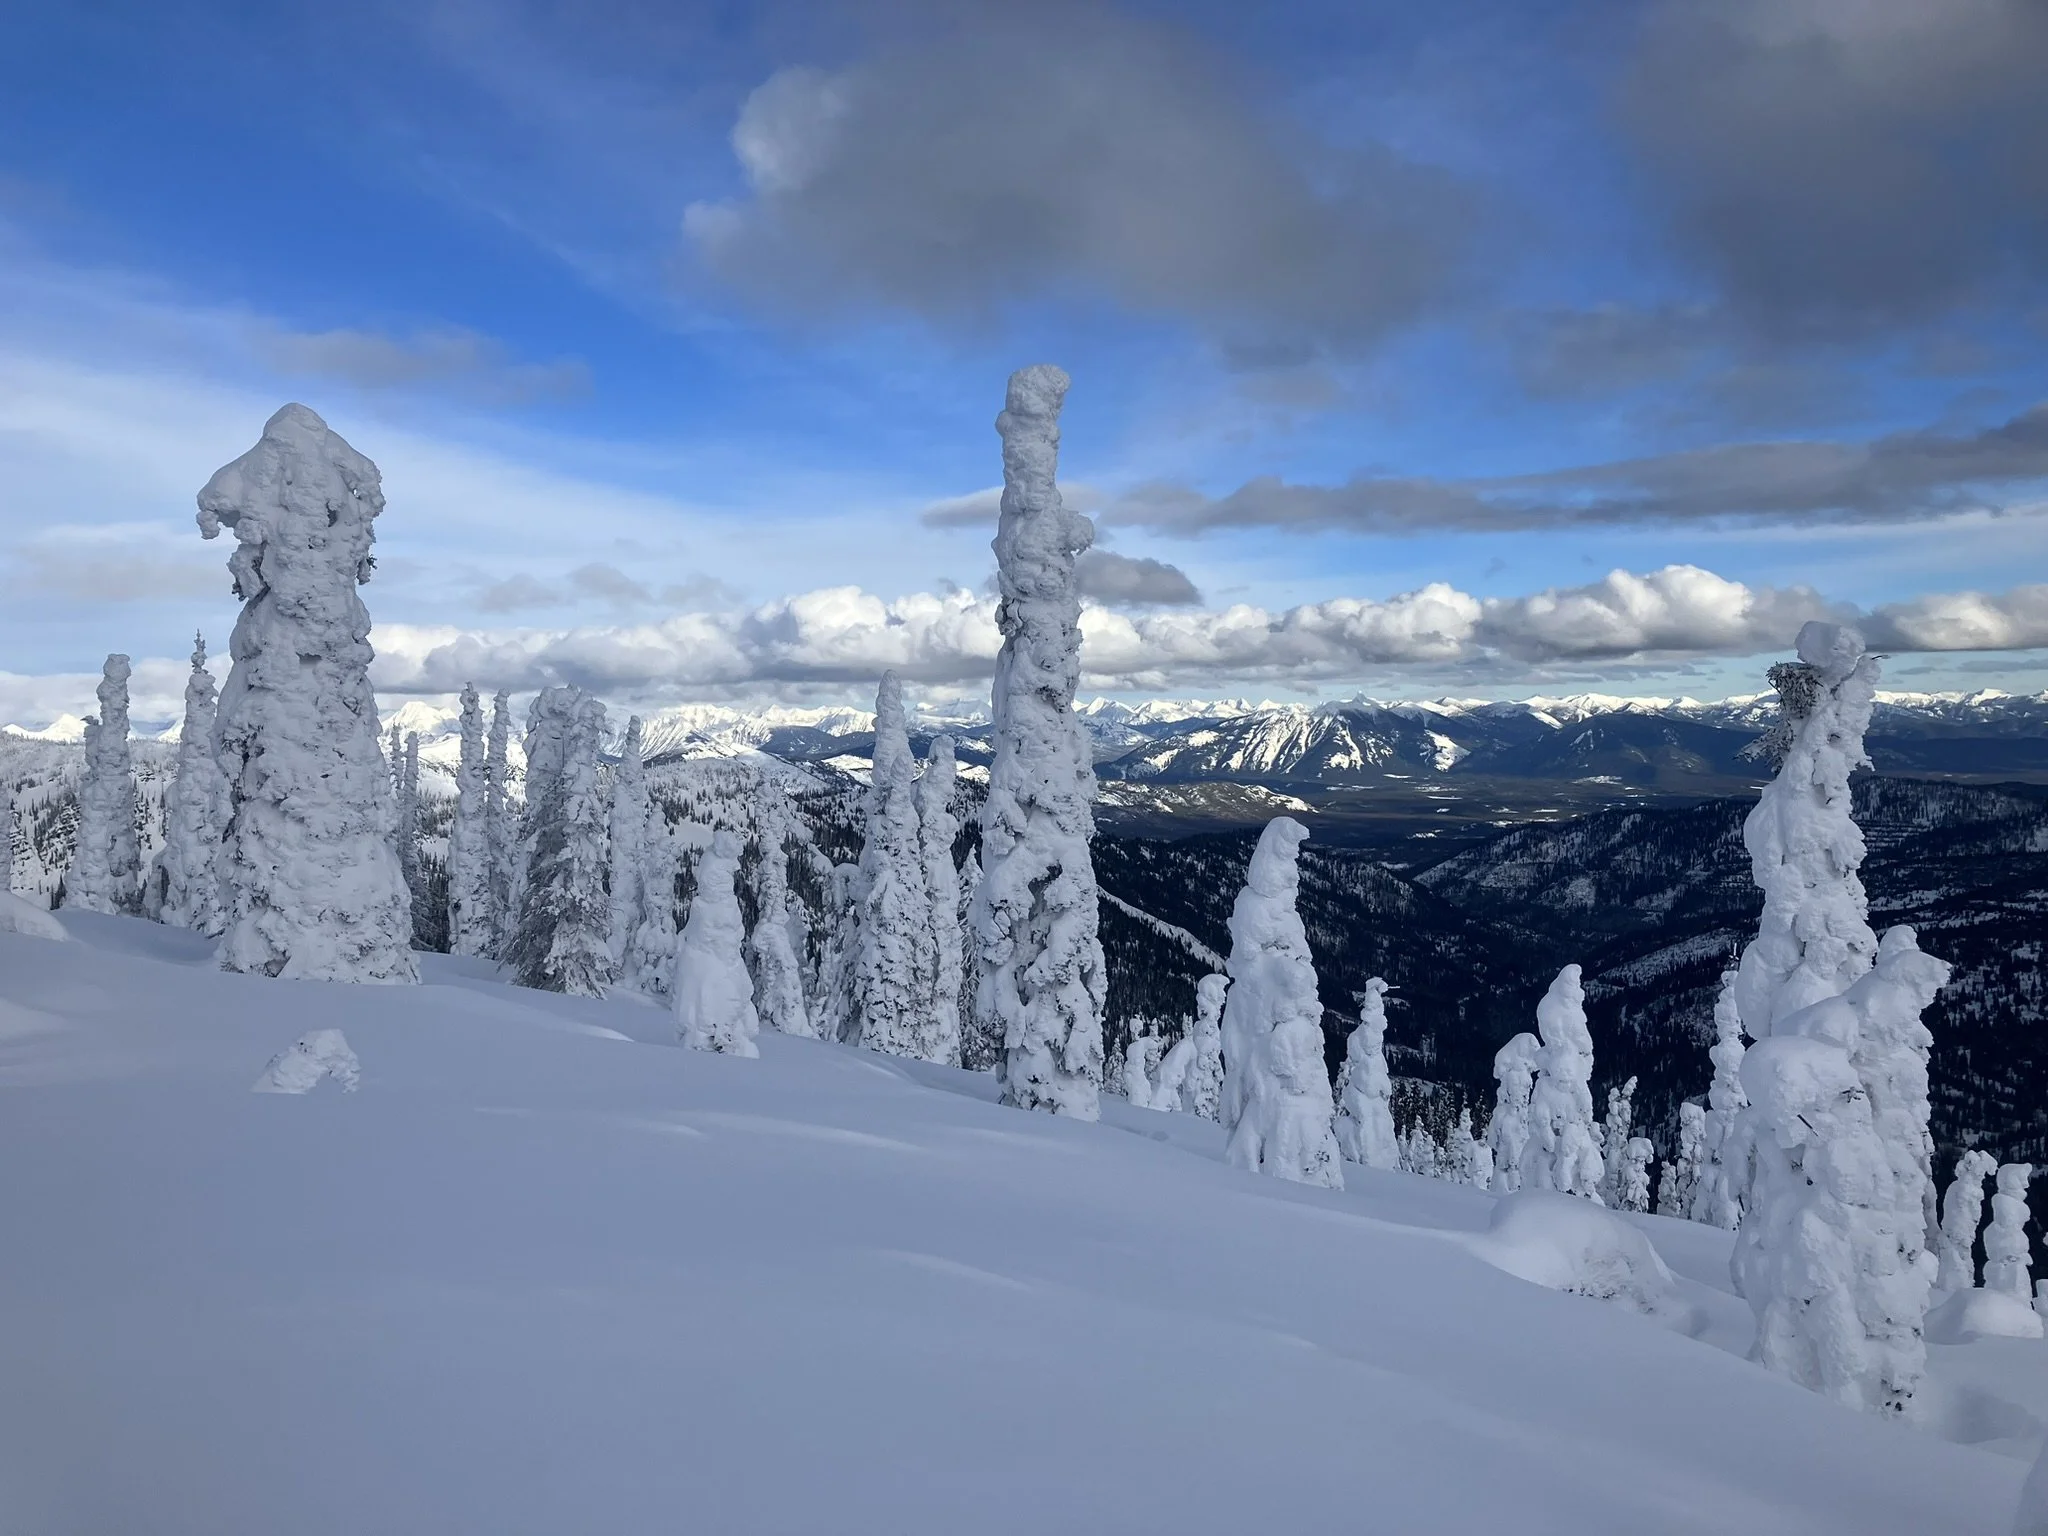
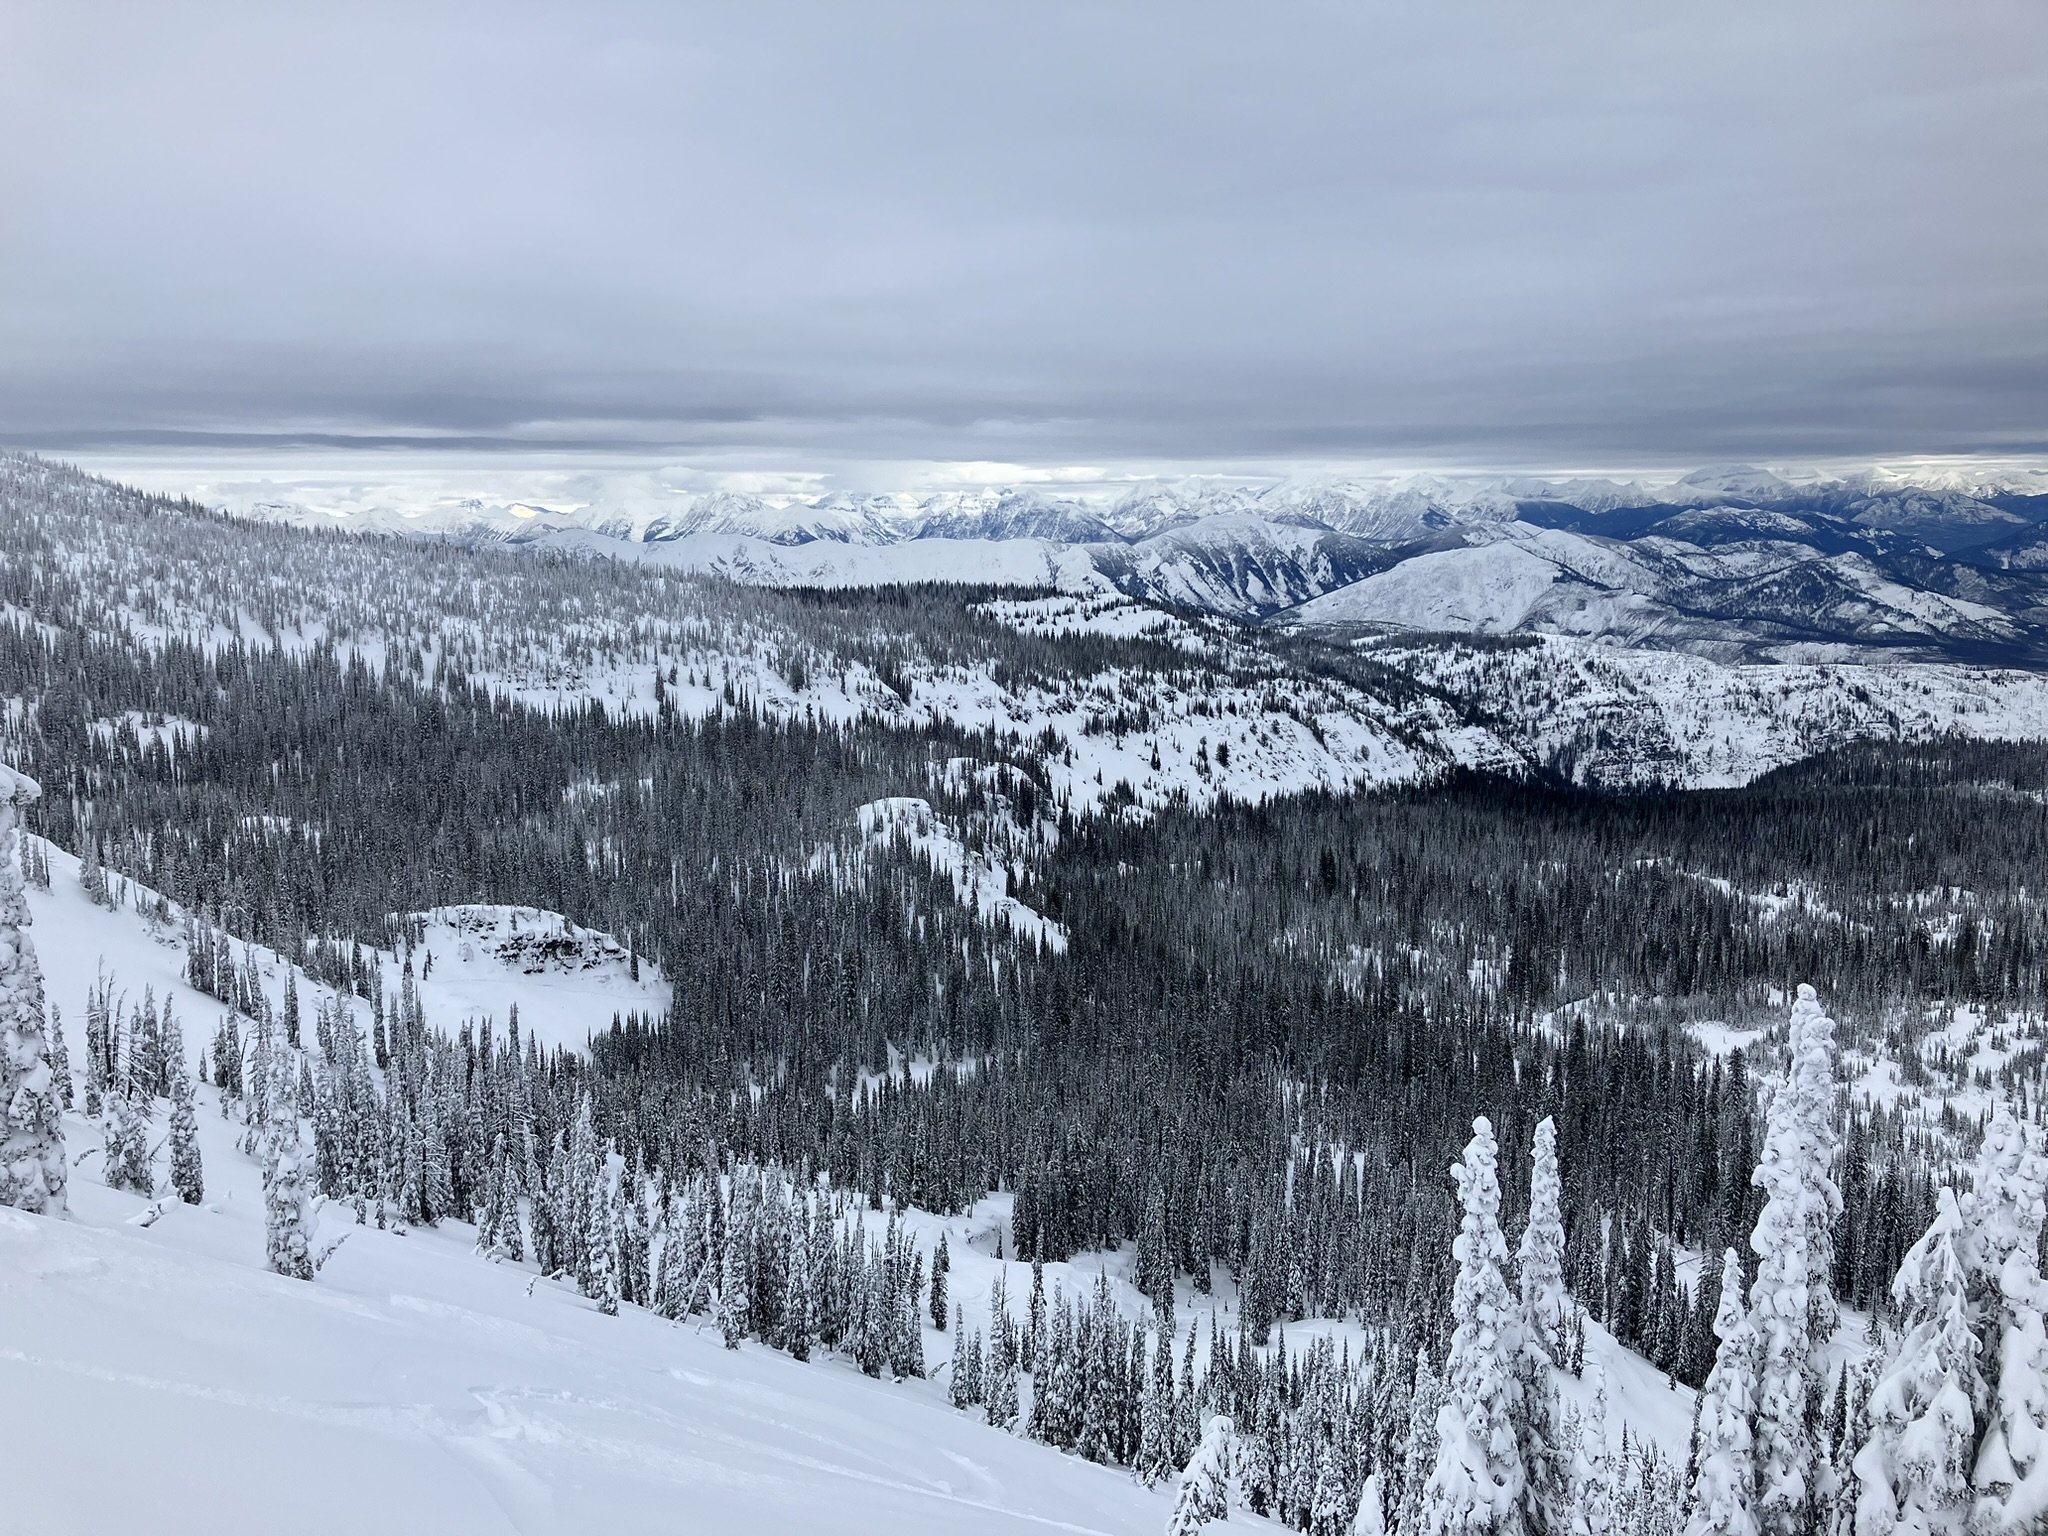
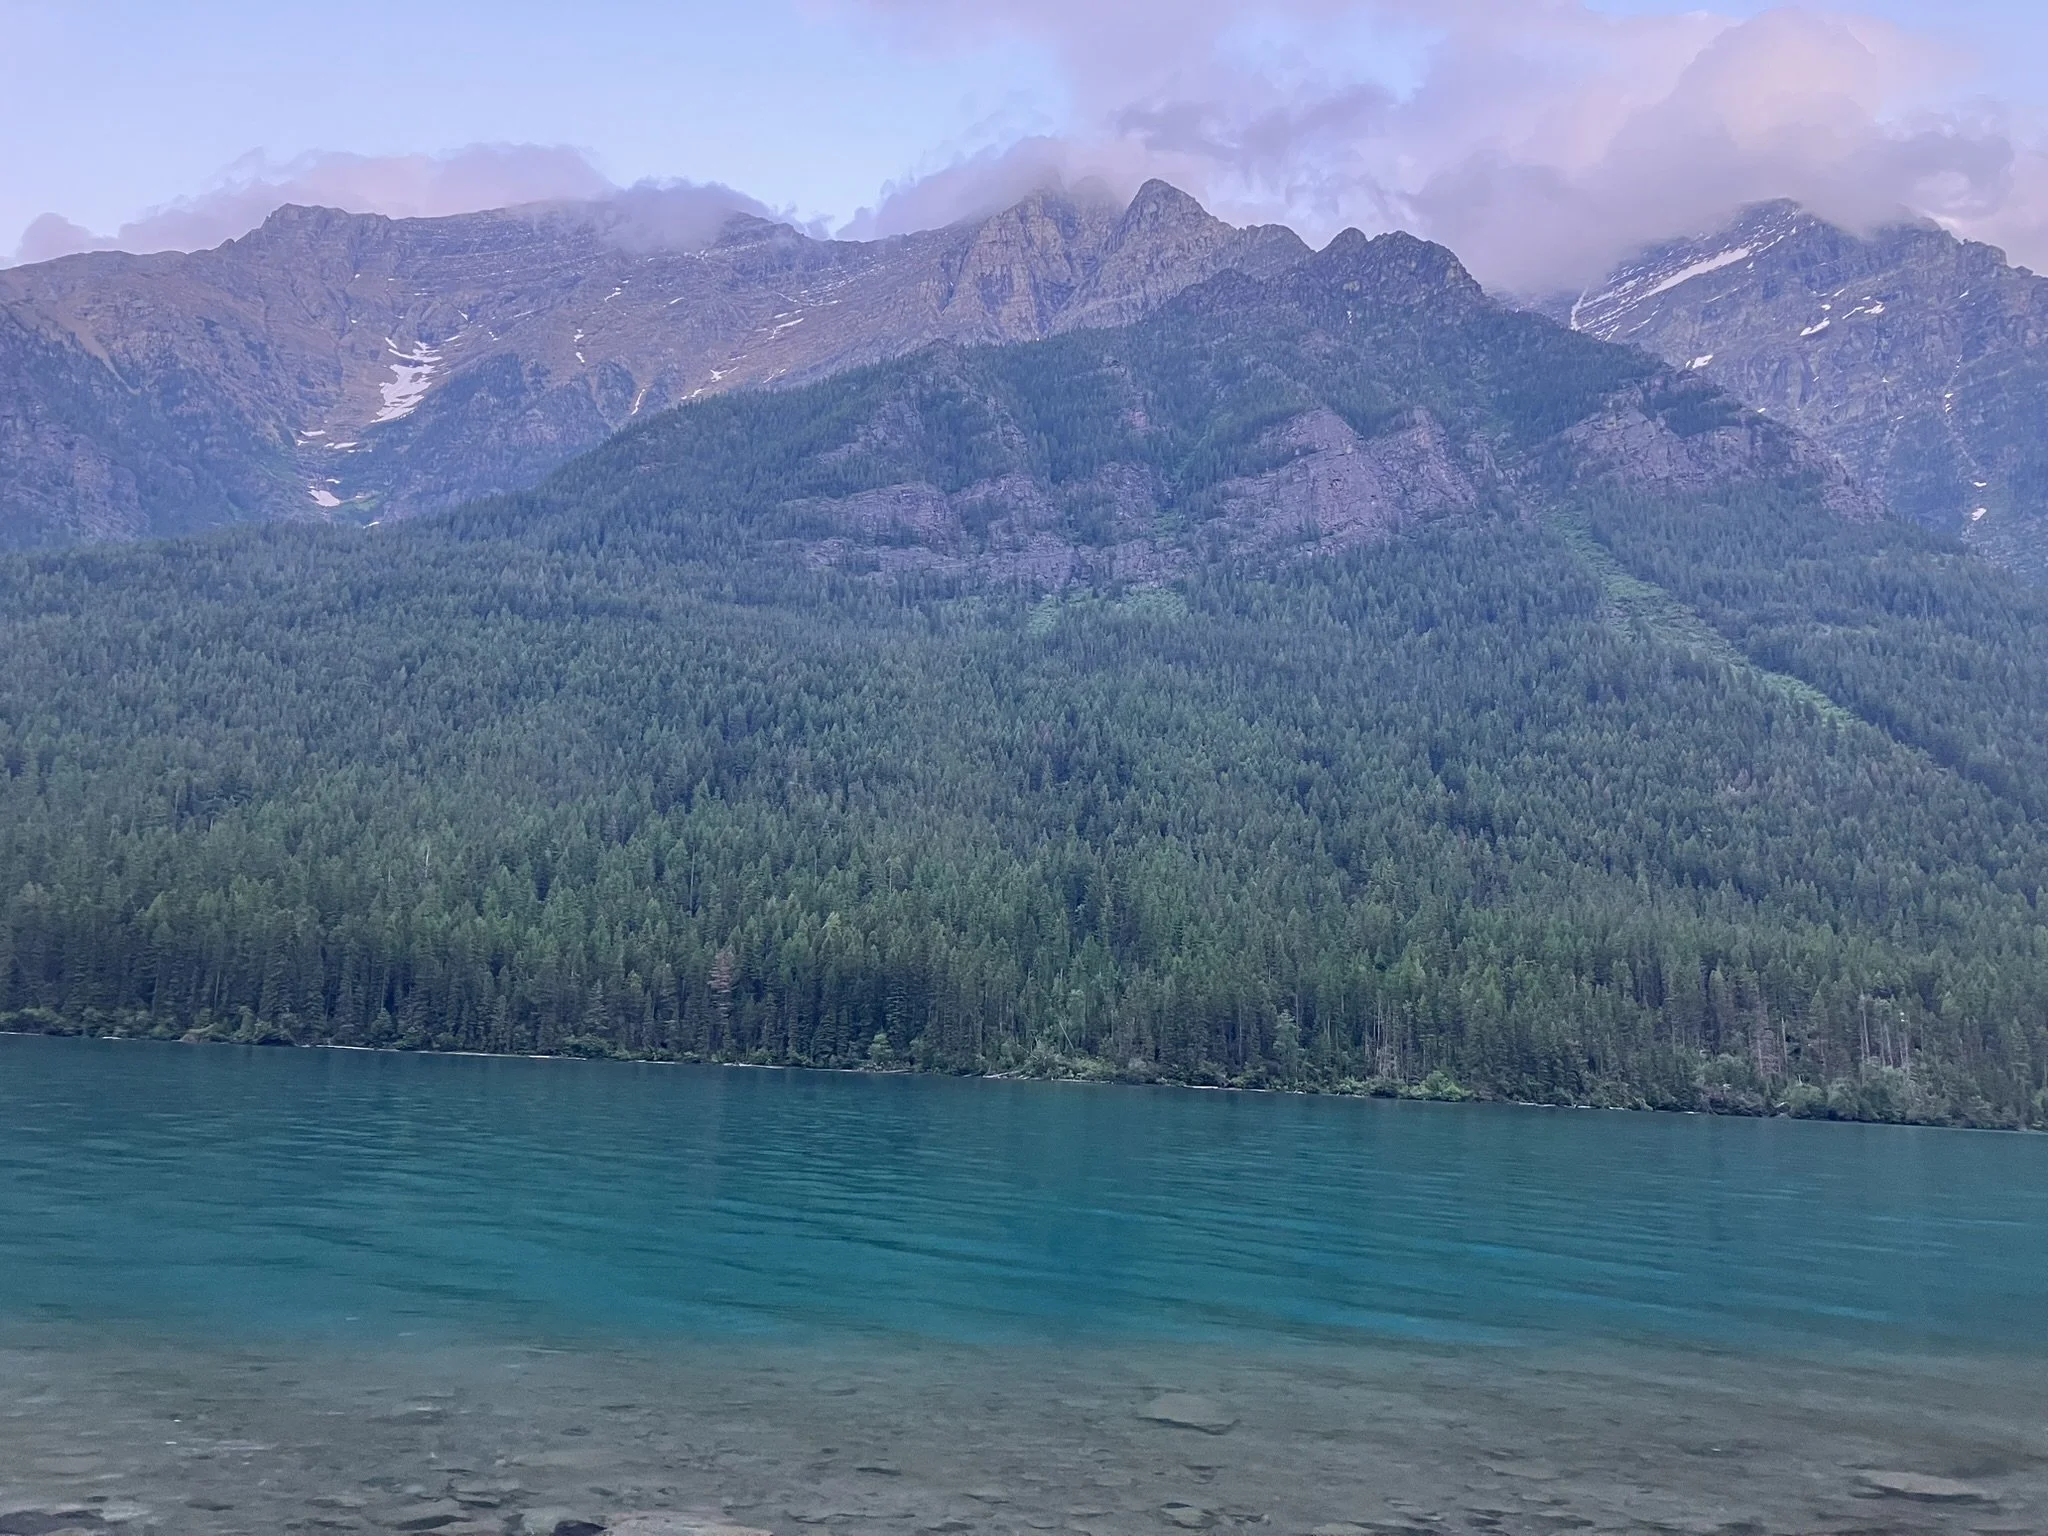
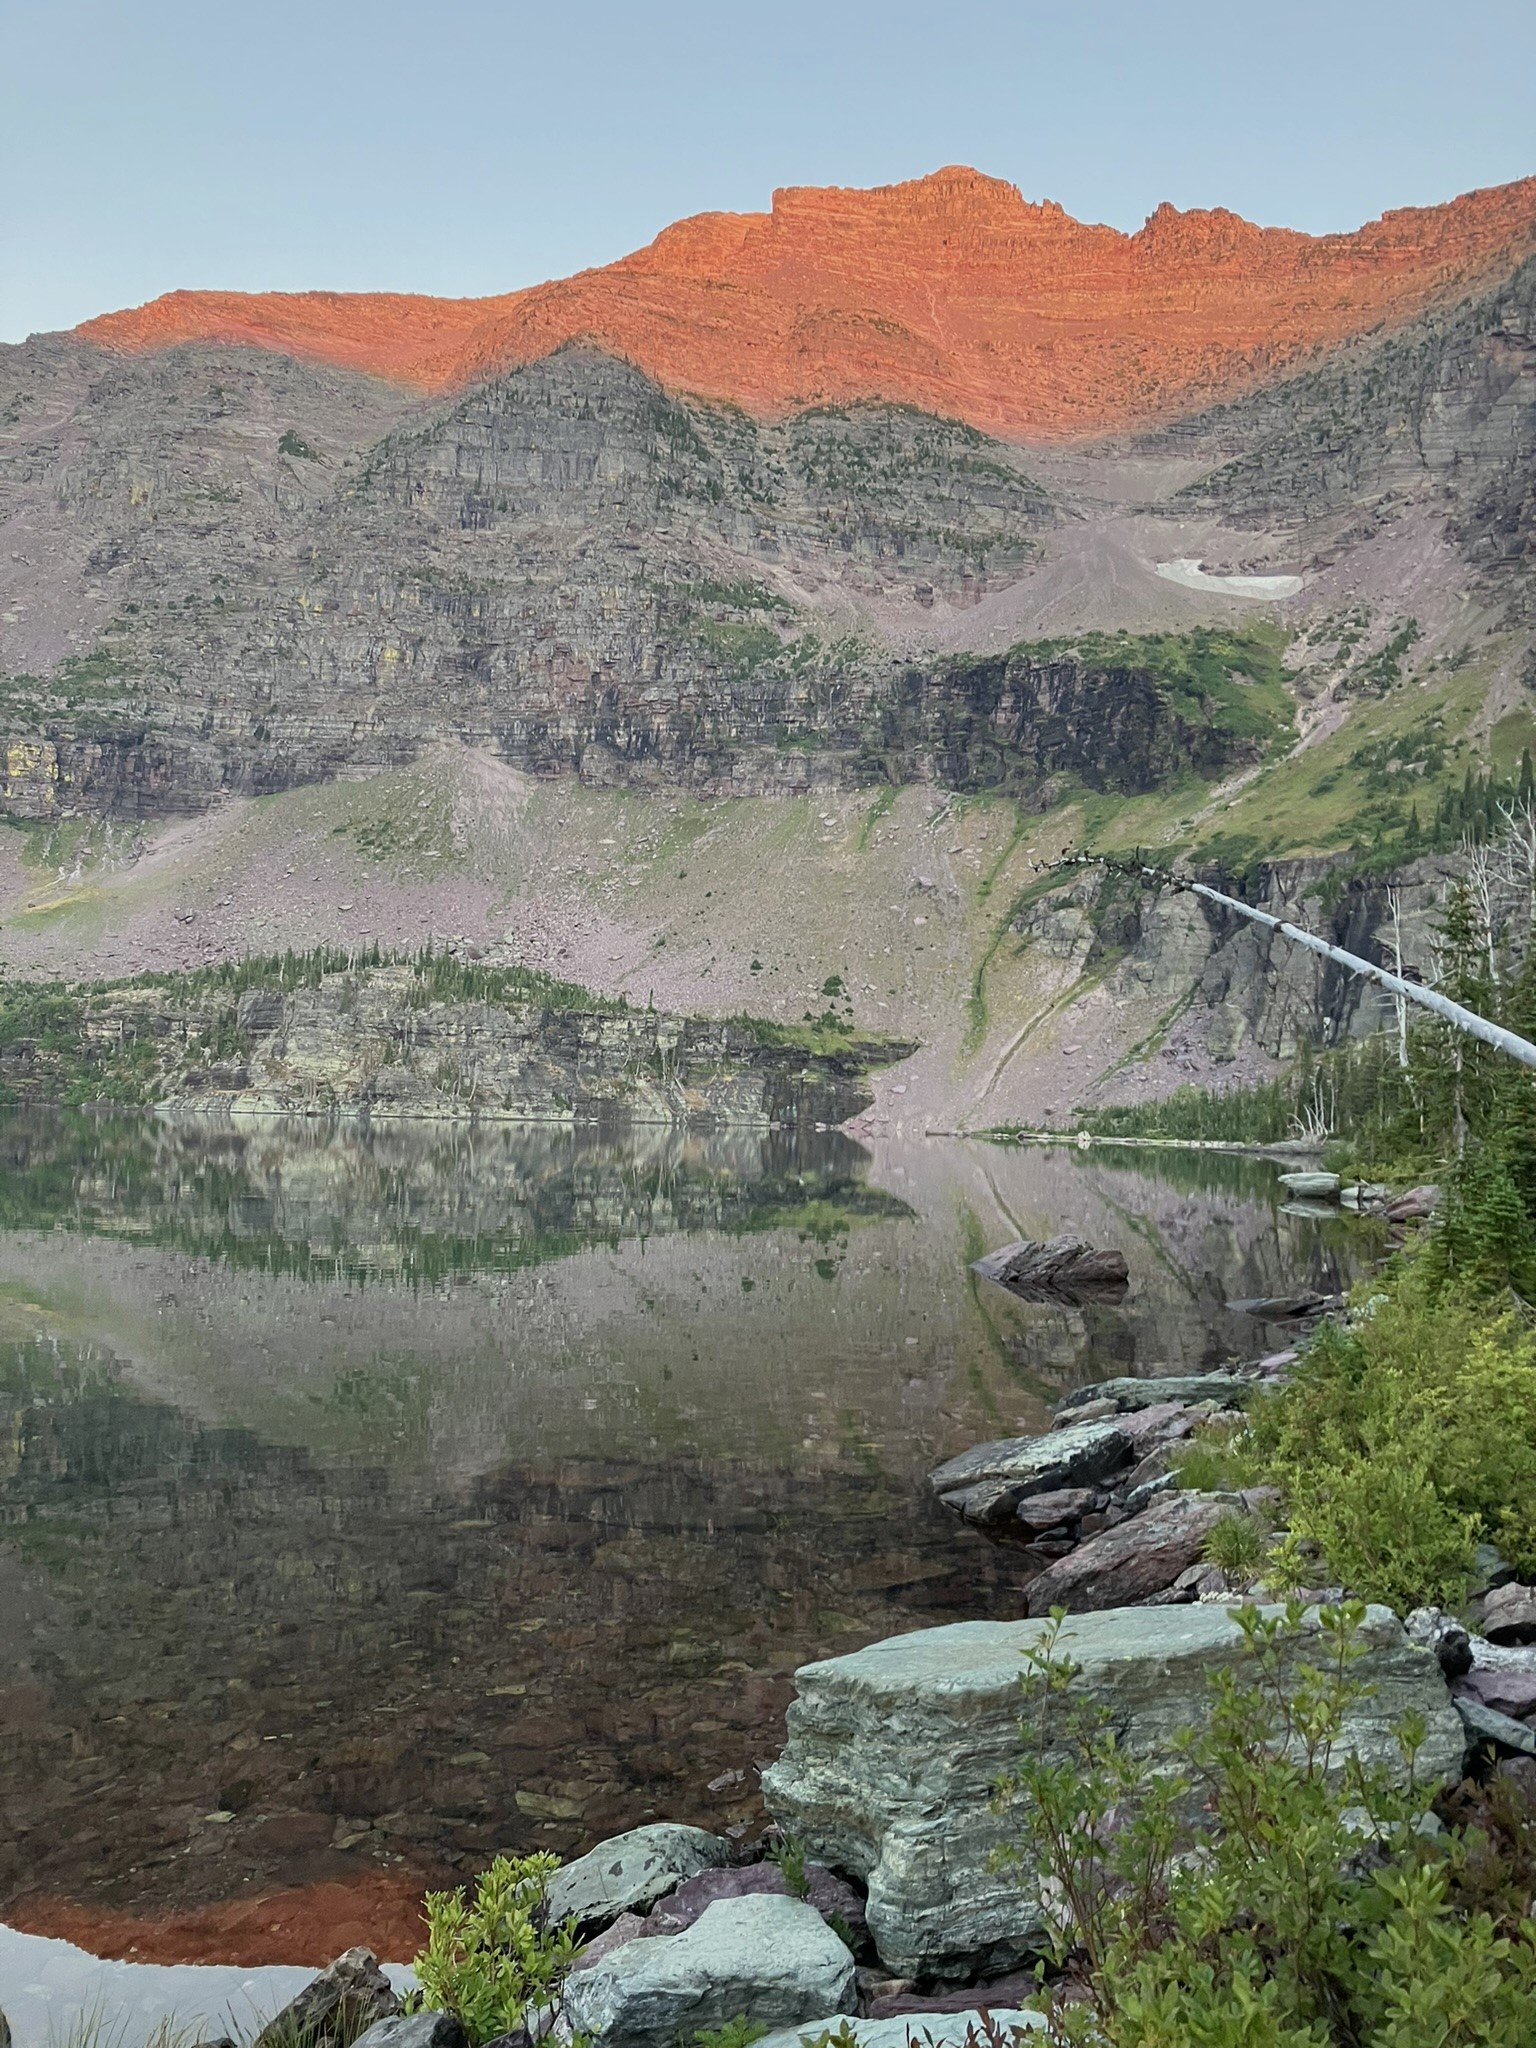
Ride until you see the sign pointing to Doris Lakes (~2.2 miles) and you’ll quickly start climbing along the road with giant switch backs closer to the peaks in the area. Its amazing how quickly you find yourself looking across the lake at the spectacular range in the Great Bear Wilderness. A few good stops along the way include - frozen Beta and Alpha Lakes, with a full snowpack you can do ski laps on the road (still busy), or take a break enjoying the views down into the lake on the ridgeline just after Beta Lake.
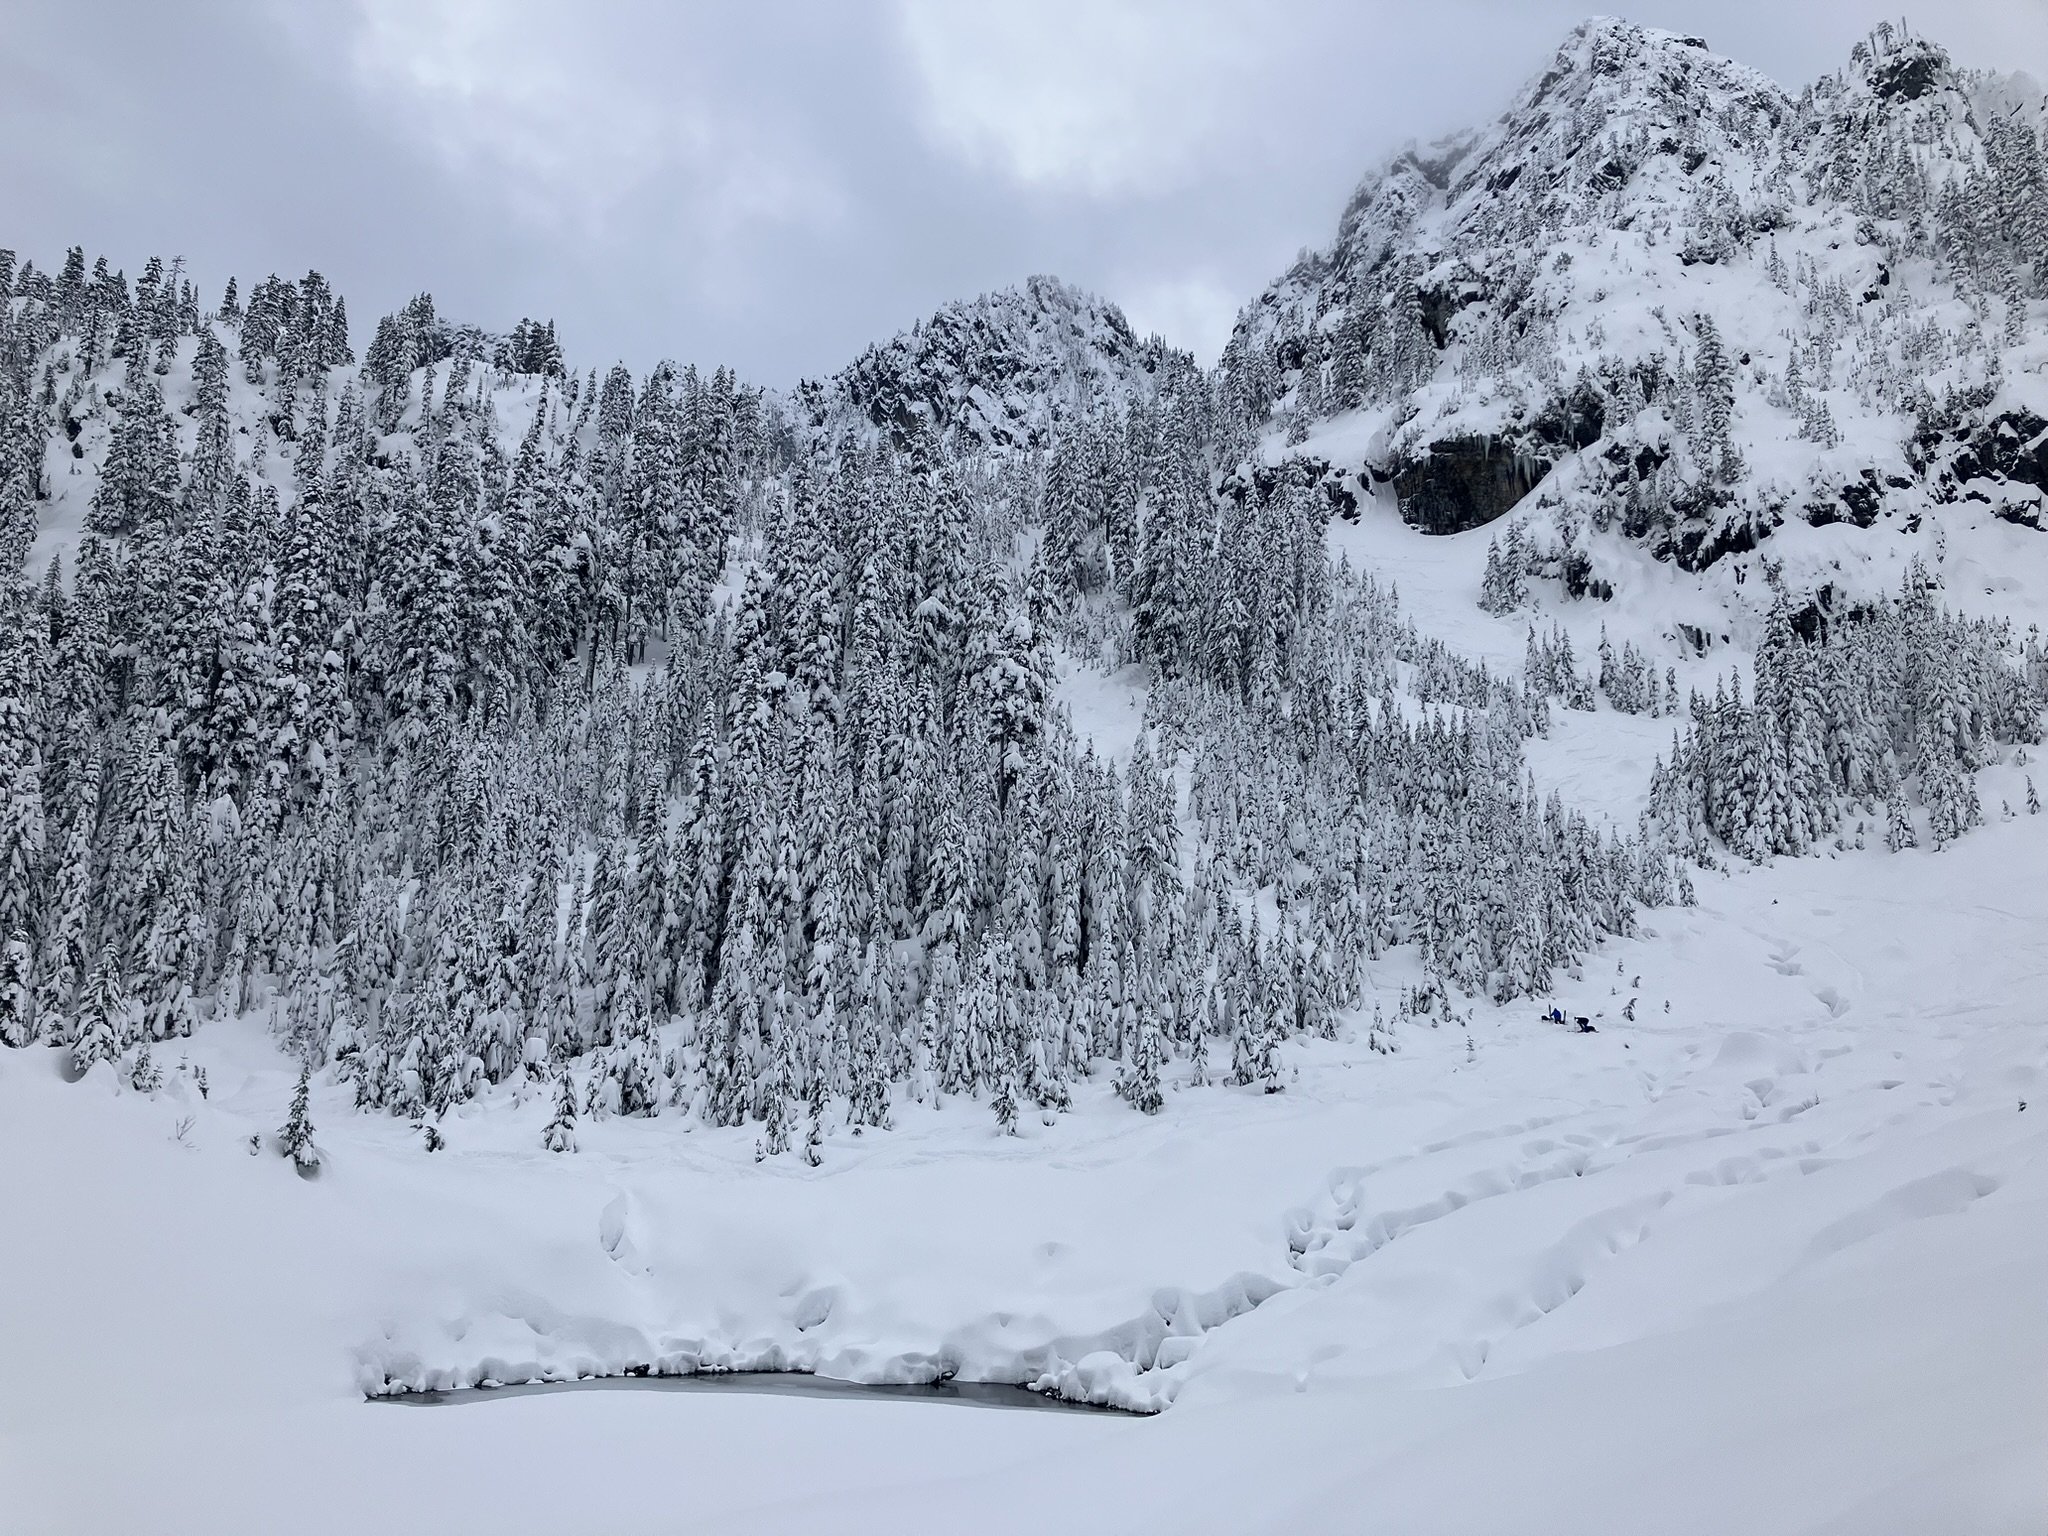
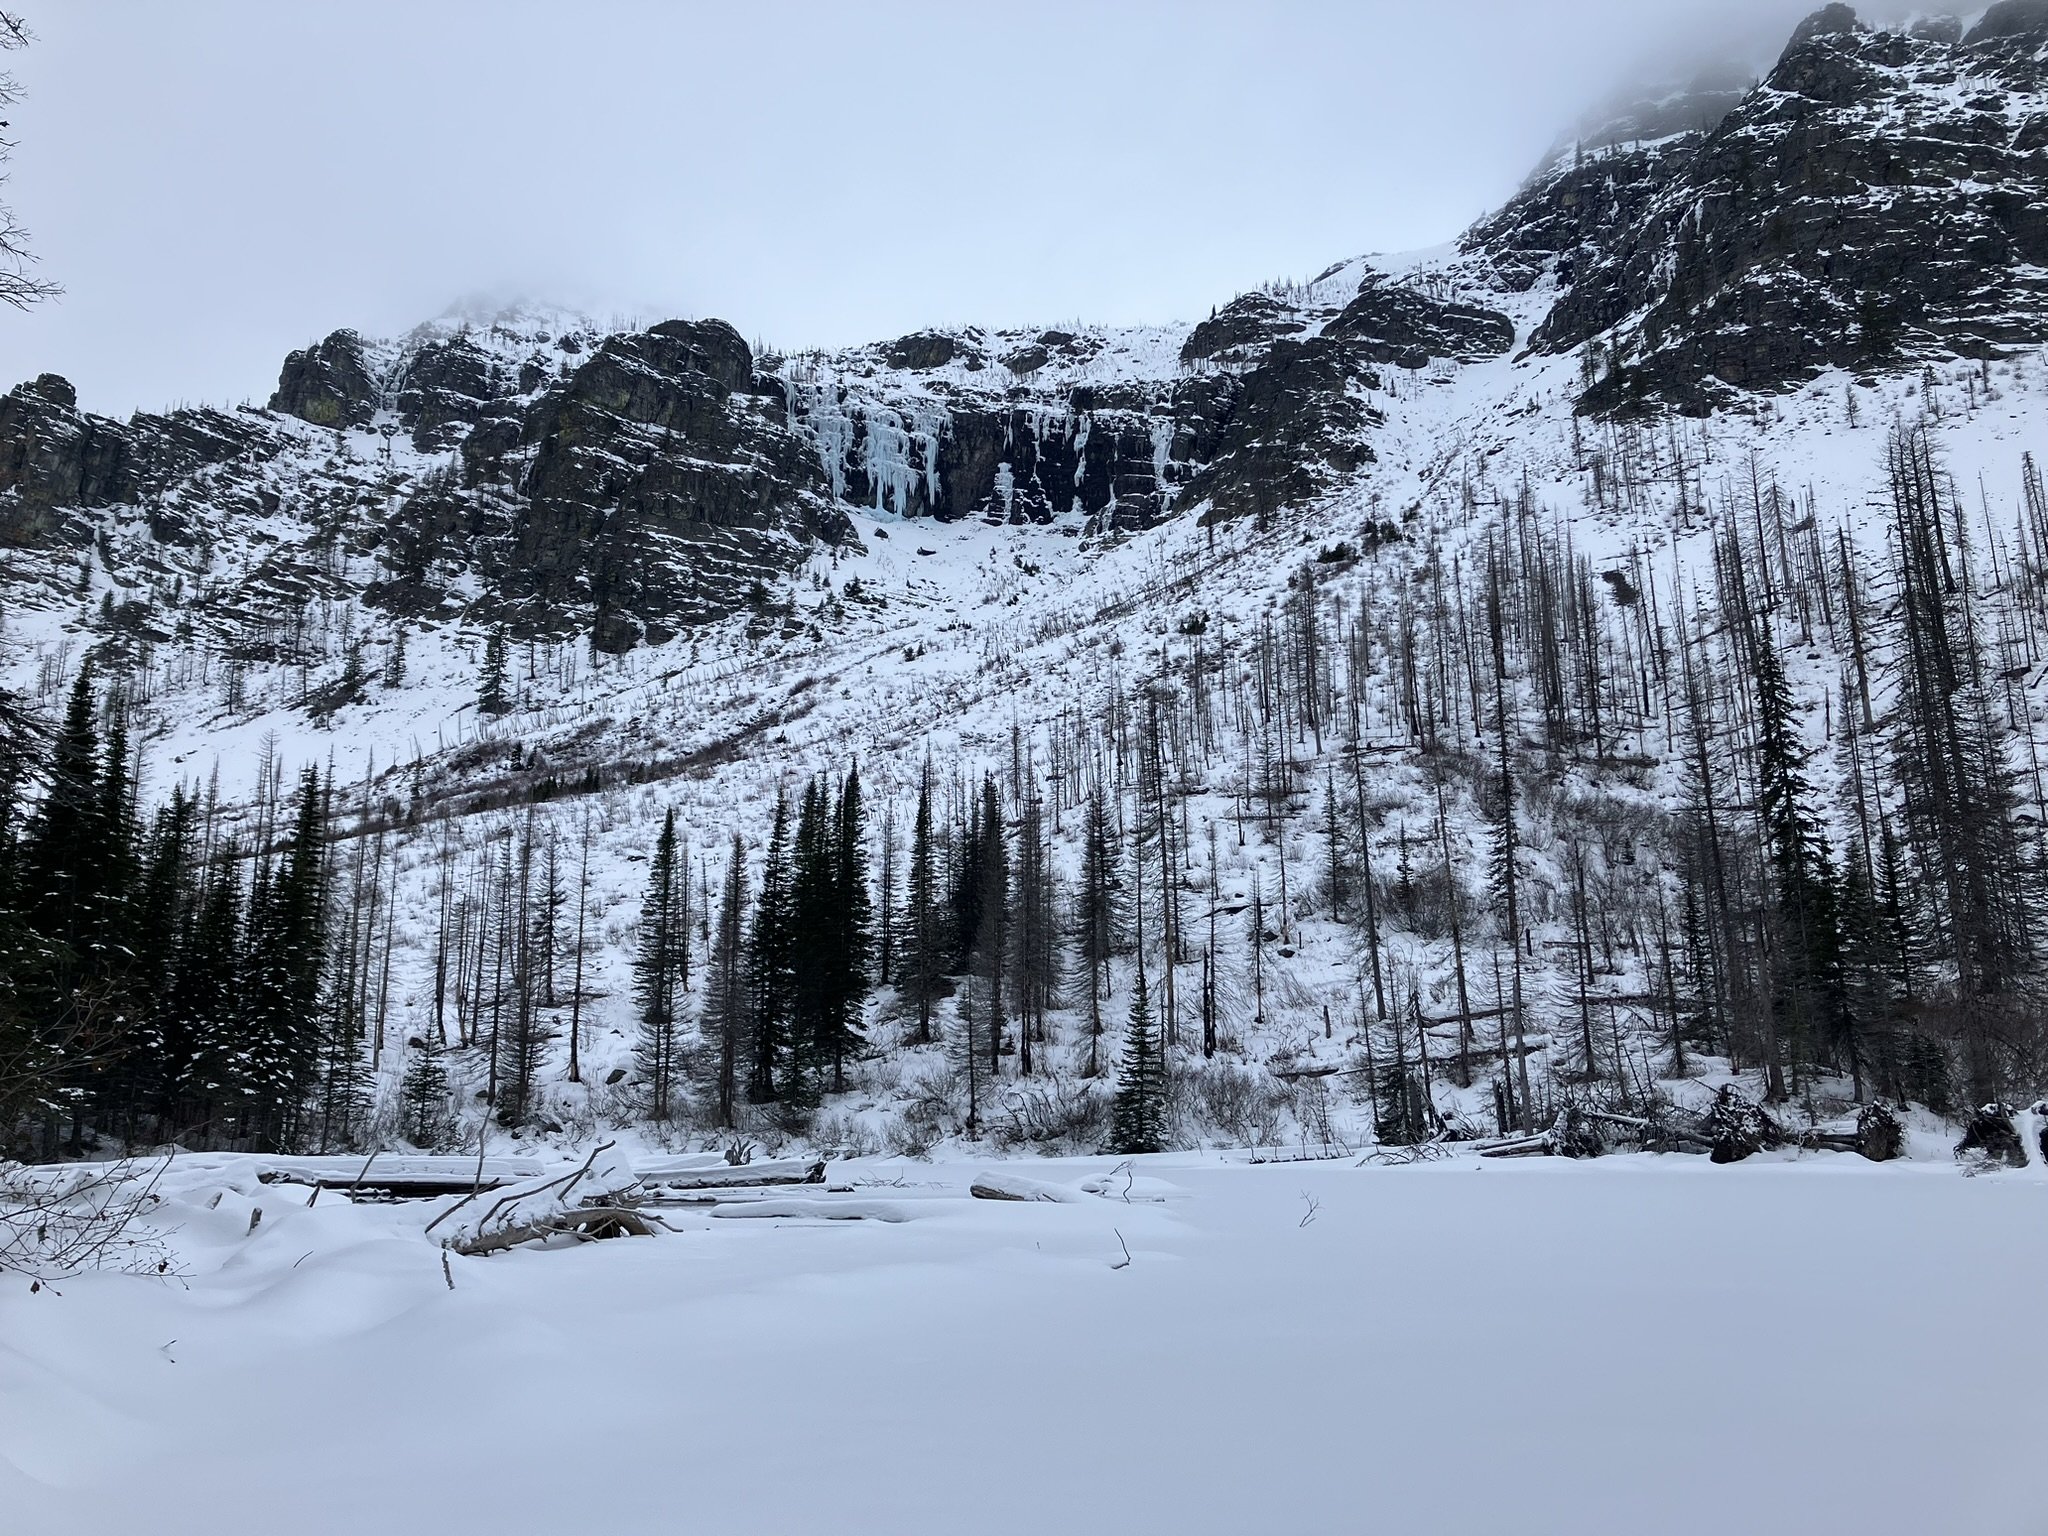
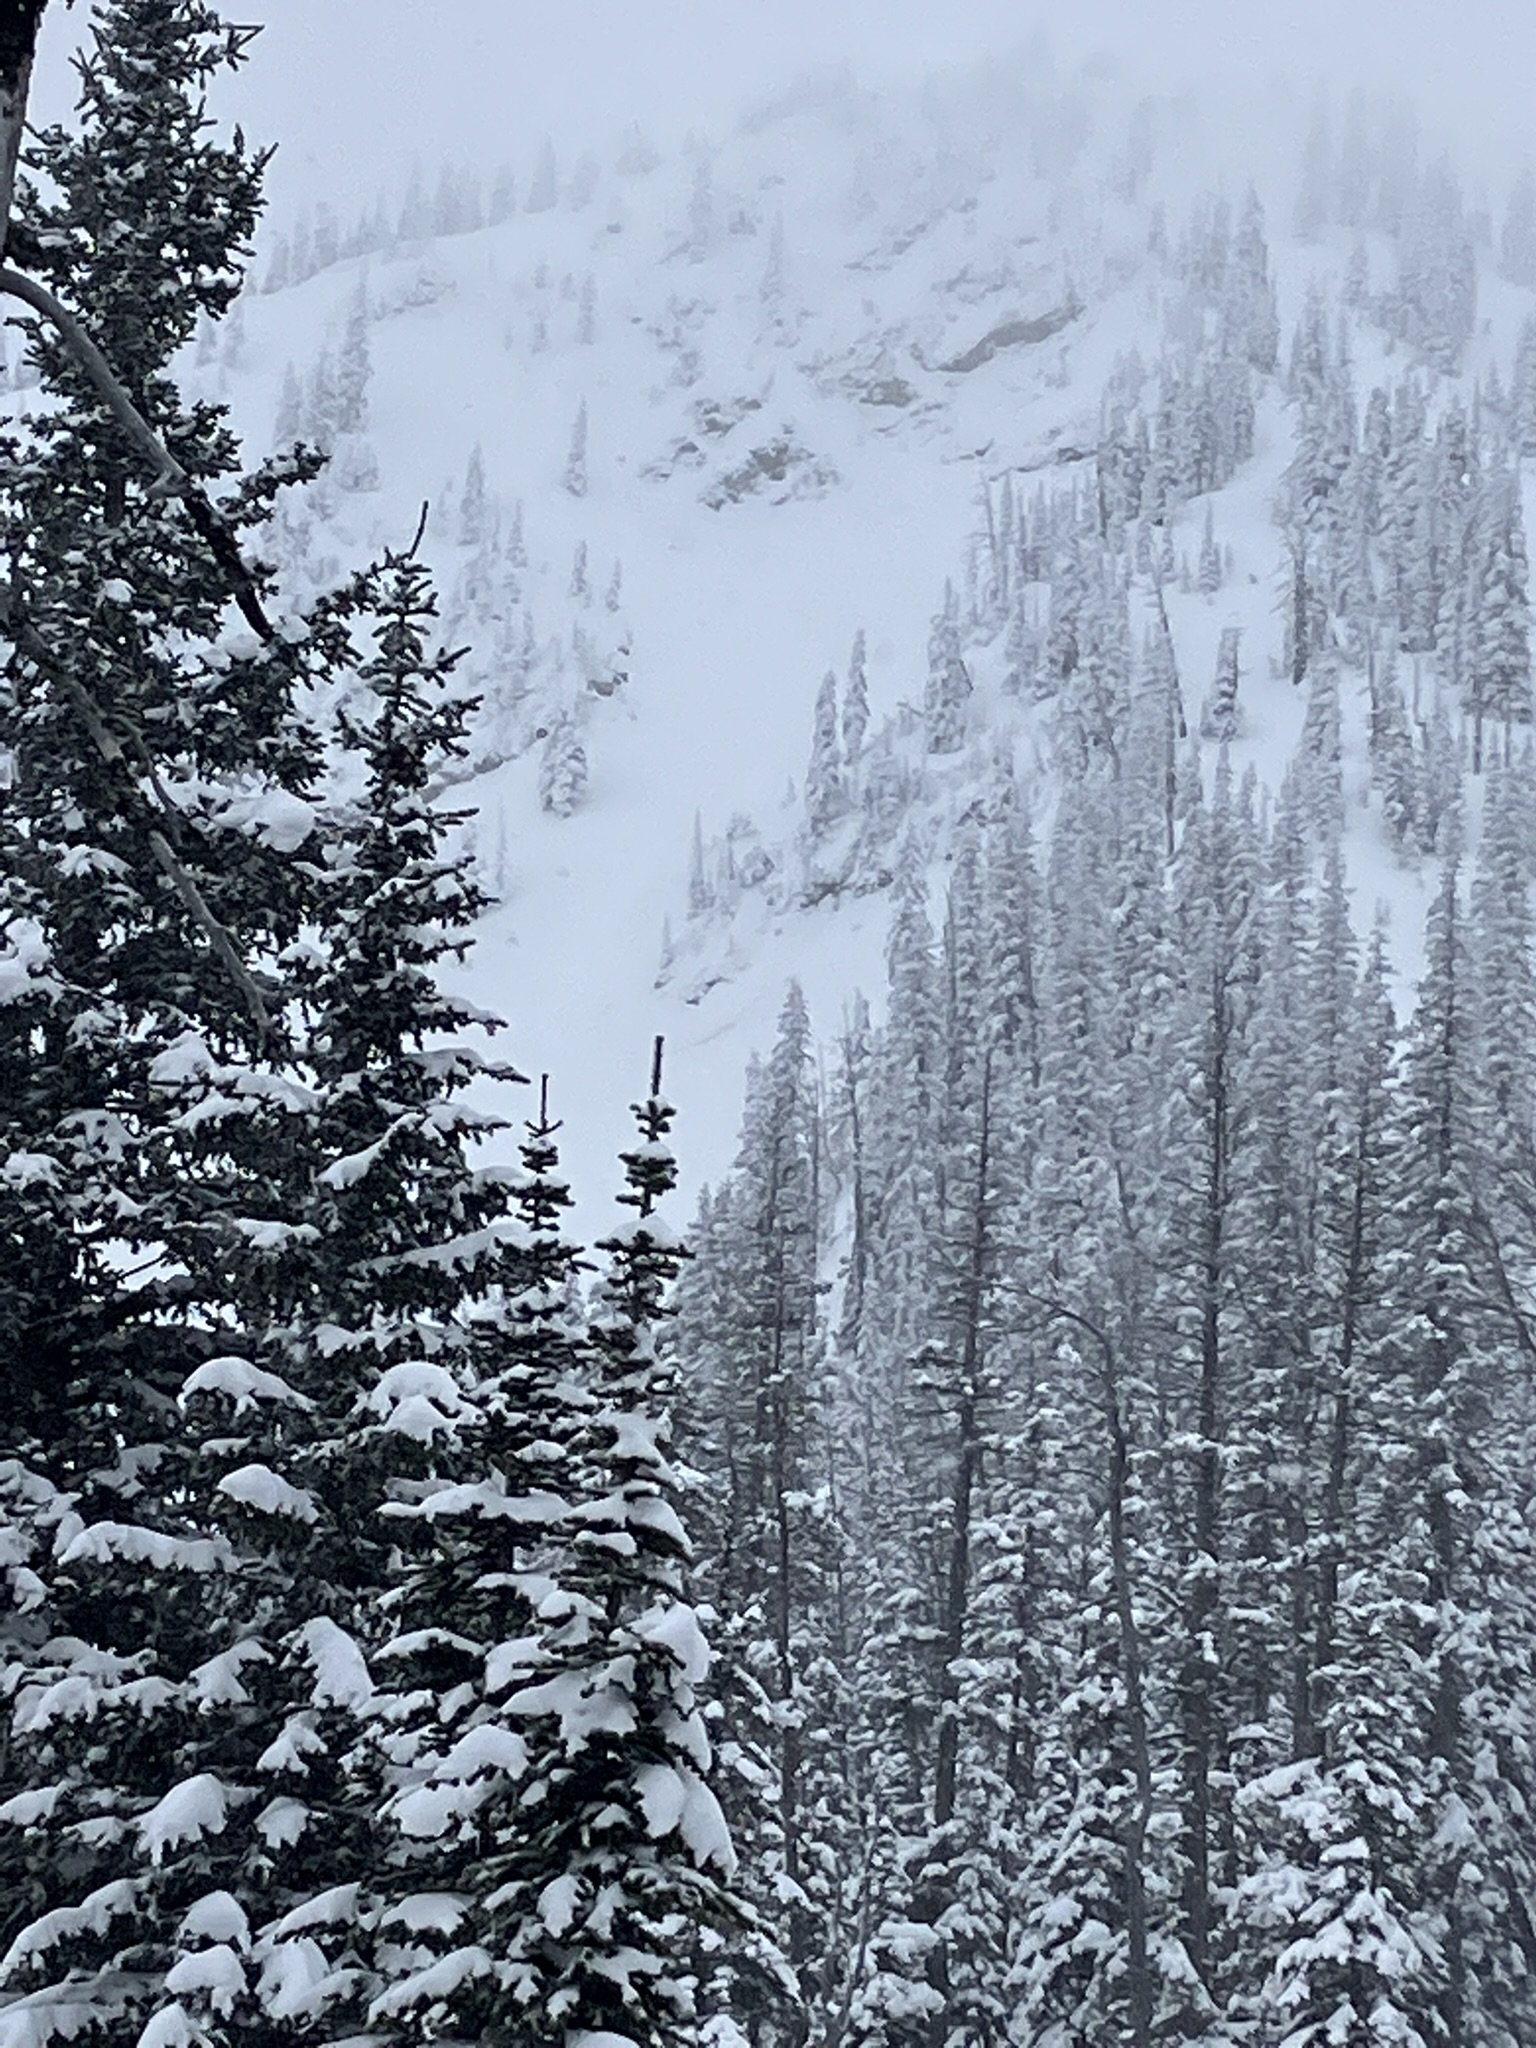
If you’re focusing on skiing for the day, you can park your sled down by Doris Lakes (advanced riding abilities required) or park it as displayed on the map below and ski down into the Doris Lakes Basin. There are ample ski opportunities depending on if you’re looking for steep trees, chutes off Doris Ridge, skiing the Bowl down into the Southern most lake or low angle terrain near the skin track. I have highlighted a classic ascent (some steep skinning areas to reduce distance) that does go through avalanche terrain.

If you’re focusing on skiing for the day, you can park your sled down by Doris Lakes (advanced riding abilities required) or park it as displayed on the map below and ski down into the Doris Lakes Basin. There are ample ski opportunities depending on if you’re looking for steep trees, chutes off Doris Ridge, skiing the Bowl down into the Southern most lake or low angle terrain near the skin track. I have highlighted a classic ascent (some steep skinning areas to reduce distance) that does go through avalanche terrain.